6 Wrist Stretches for Yogis
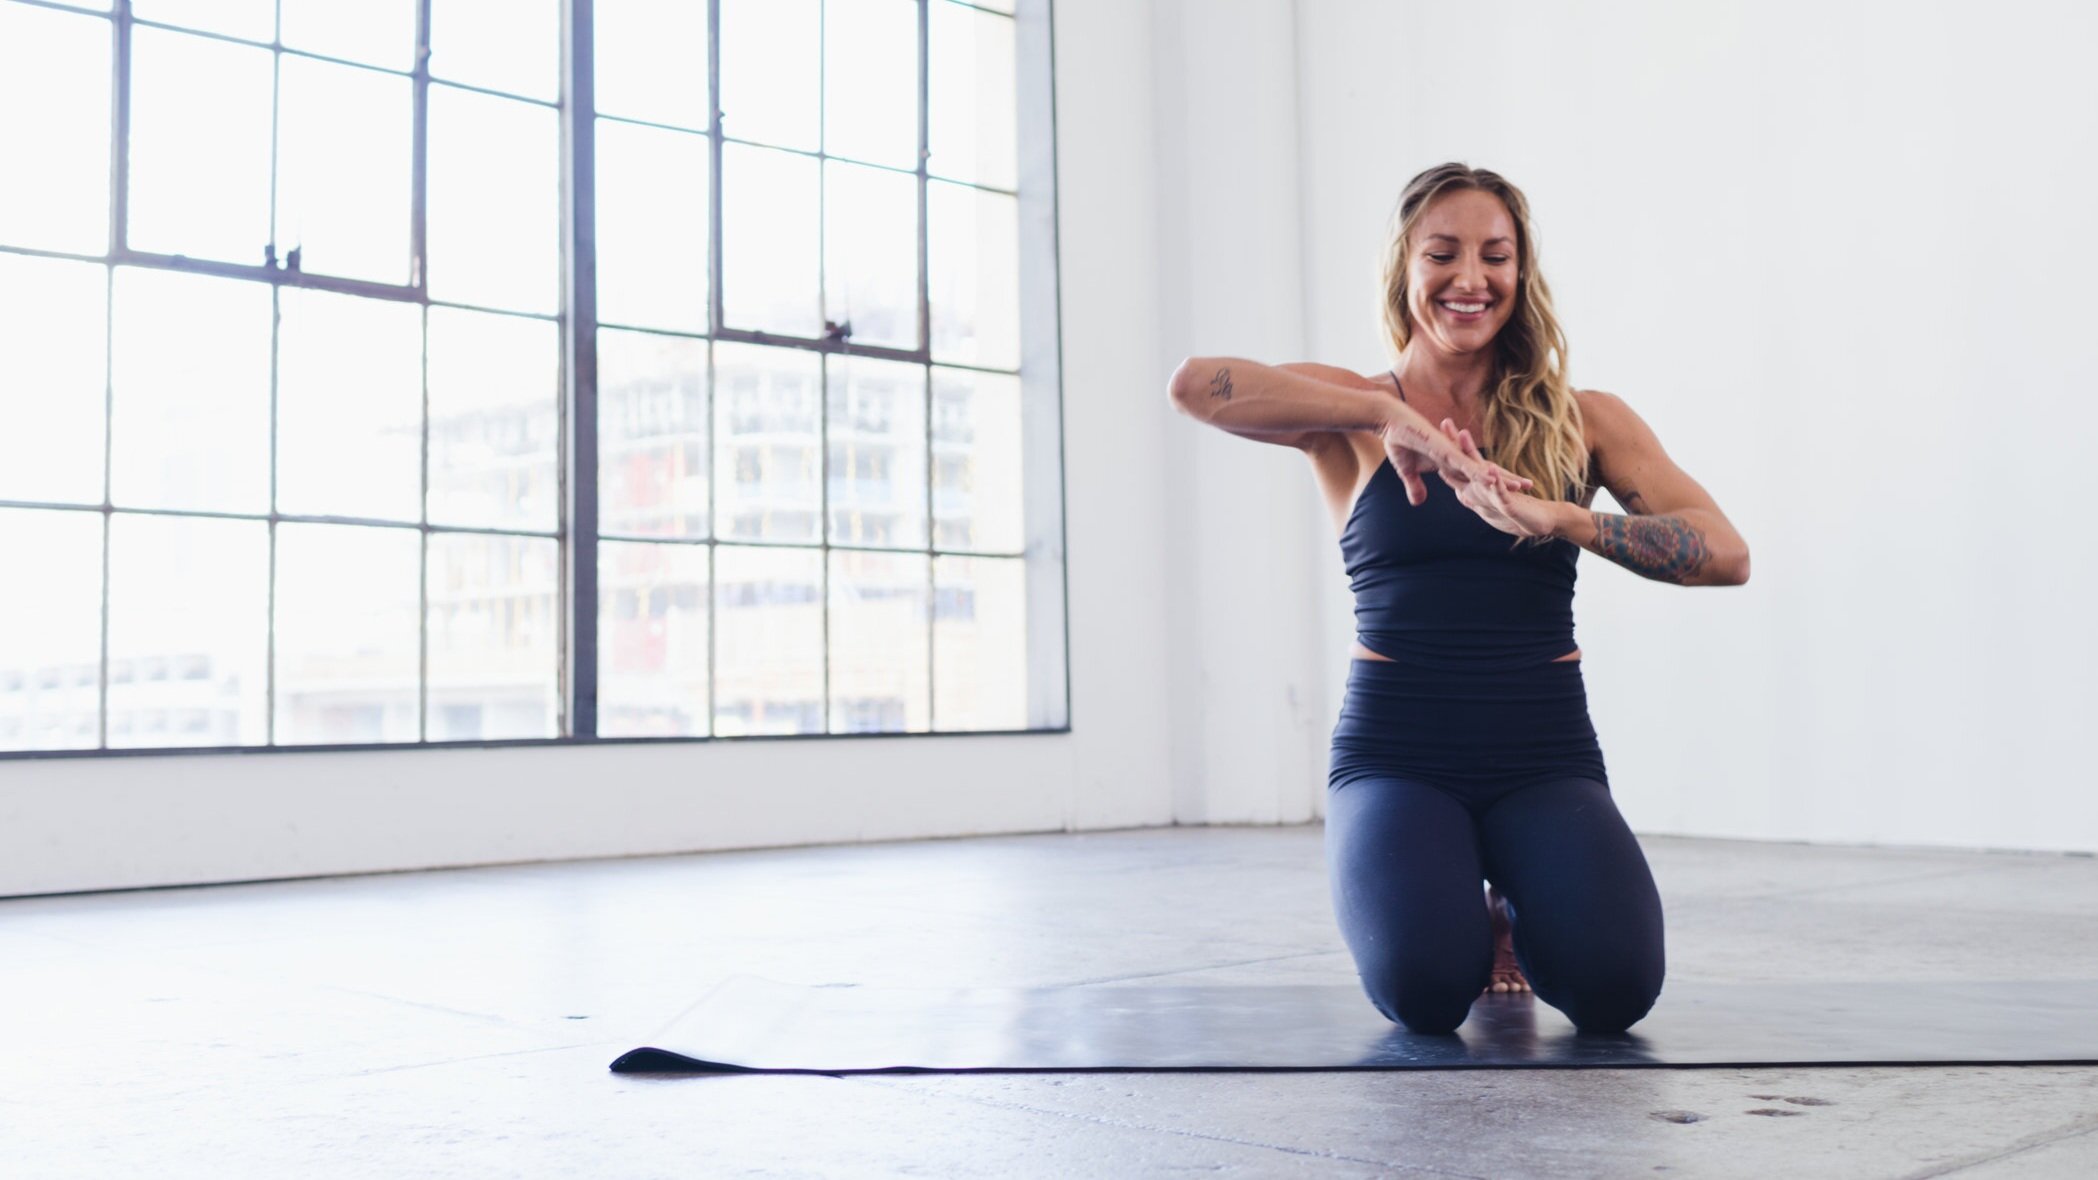
For anyone who has practiced yoga for any amount of time, you know how much strain it can put on your wrists — especially if you’re new to the practice and are building up your wrist strength, or you practice inversion-heavy flows. Wrist health is overlooked, but it’s such an important part of yoga. Without taking proper care of your wrists, you put yourself at risk of aches, pains, and injury. In our Wrist Health class with Hannah Haller, she walks you through six of the best yoga wrist stretches for yogis so you can build strength and flexibility in your wrists, the unsung heroes of your extremities.
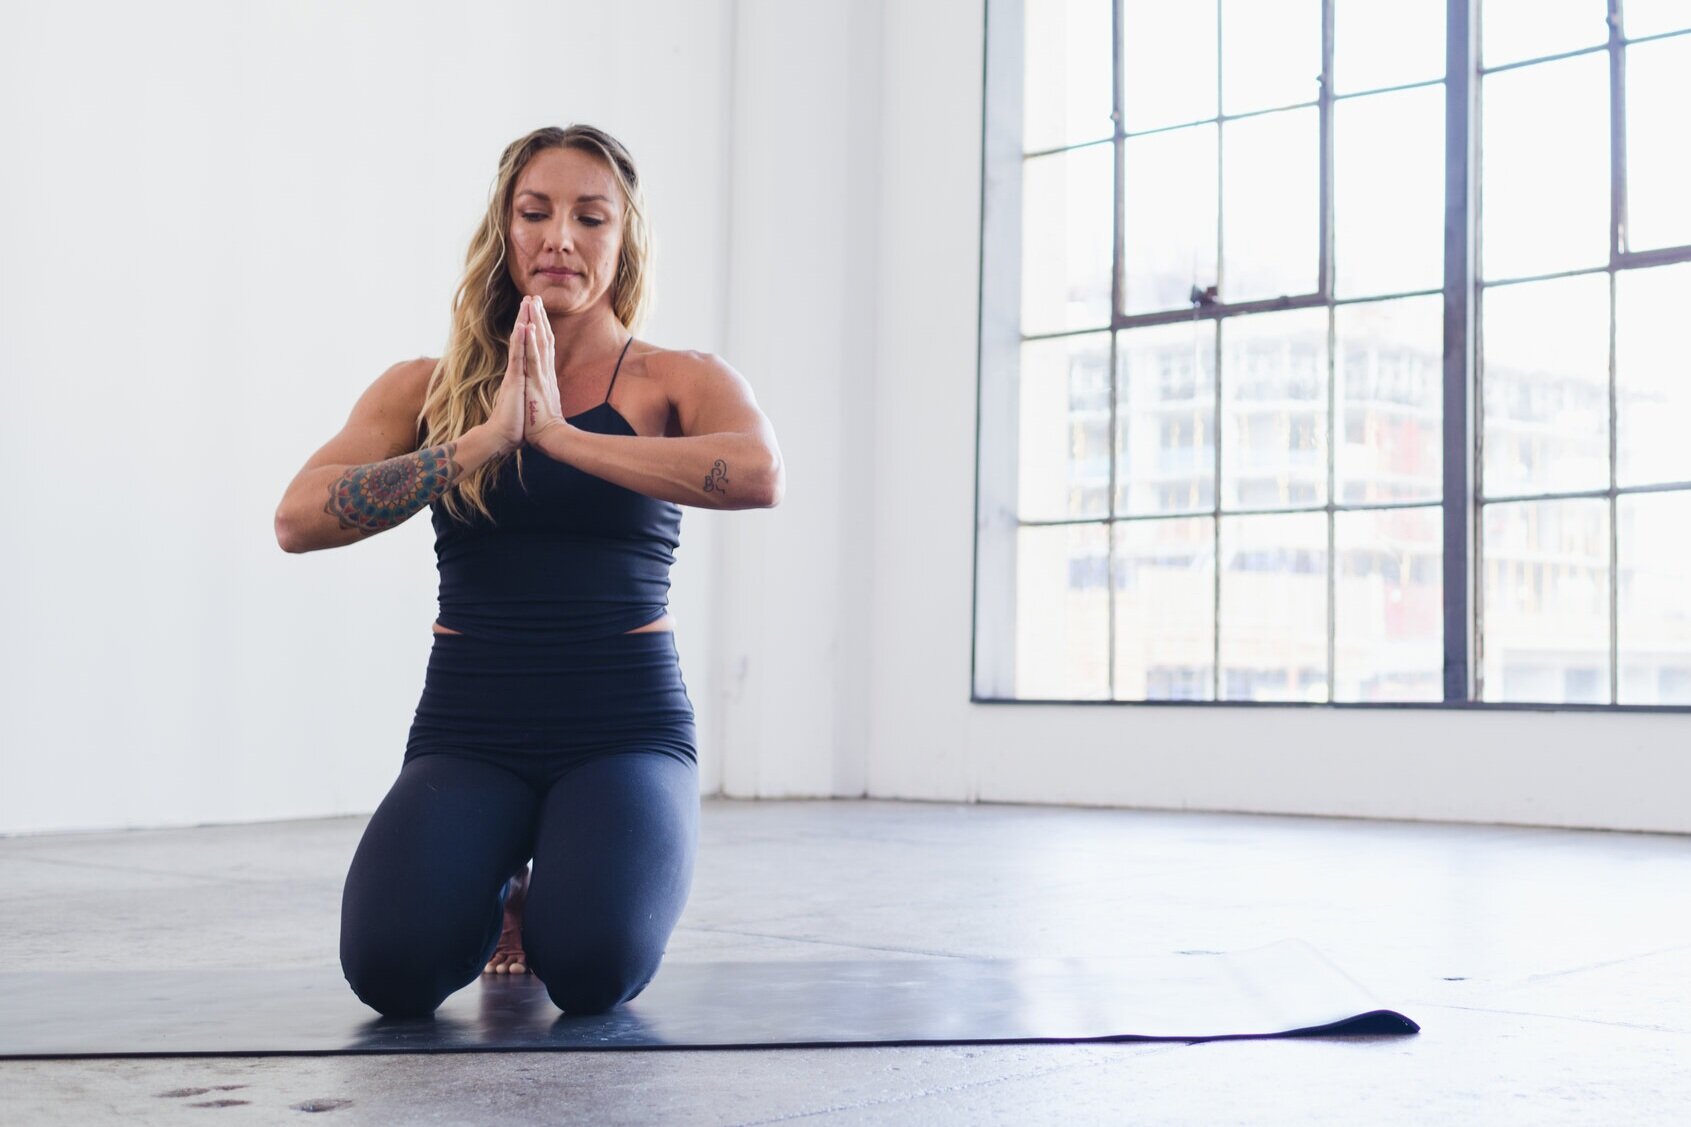
1. Prayer Stretch
Begin by sitting back on your heels and tucking your toes under, or find a comfortable cross-legged seat. Joining your palms at heart center, firmly press your palms into each other, noting the slight suction between them. Breathe out and notice the heat building slowly in your arms and shoulders. Take a deep breath in, and on the exhale, release a sigh.
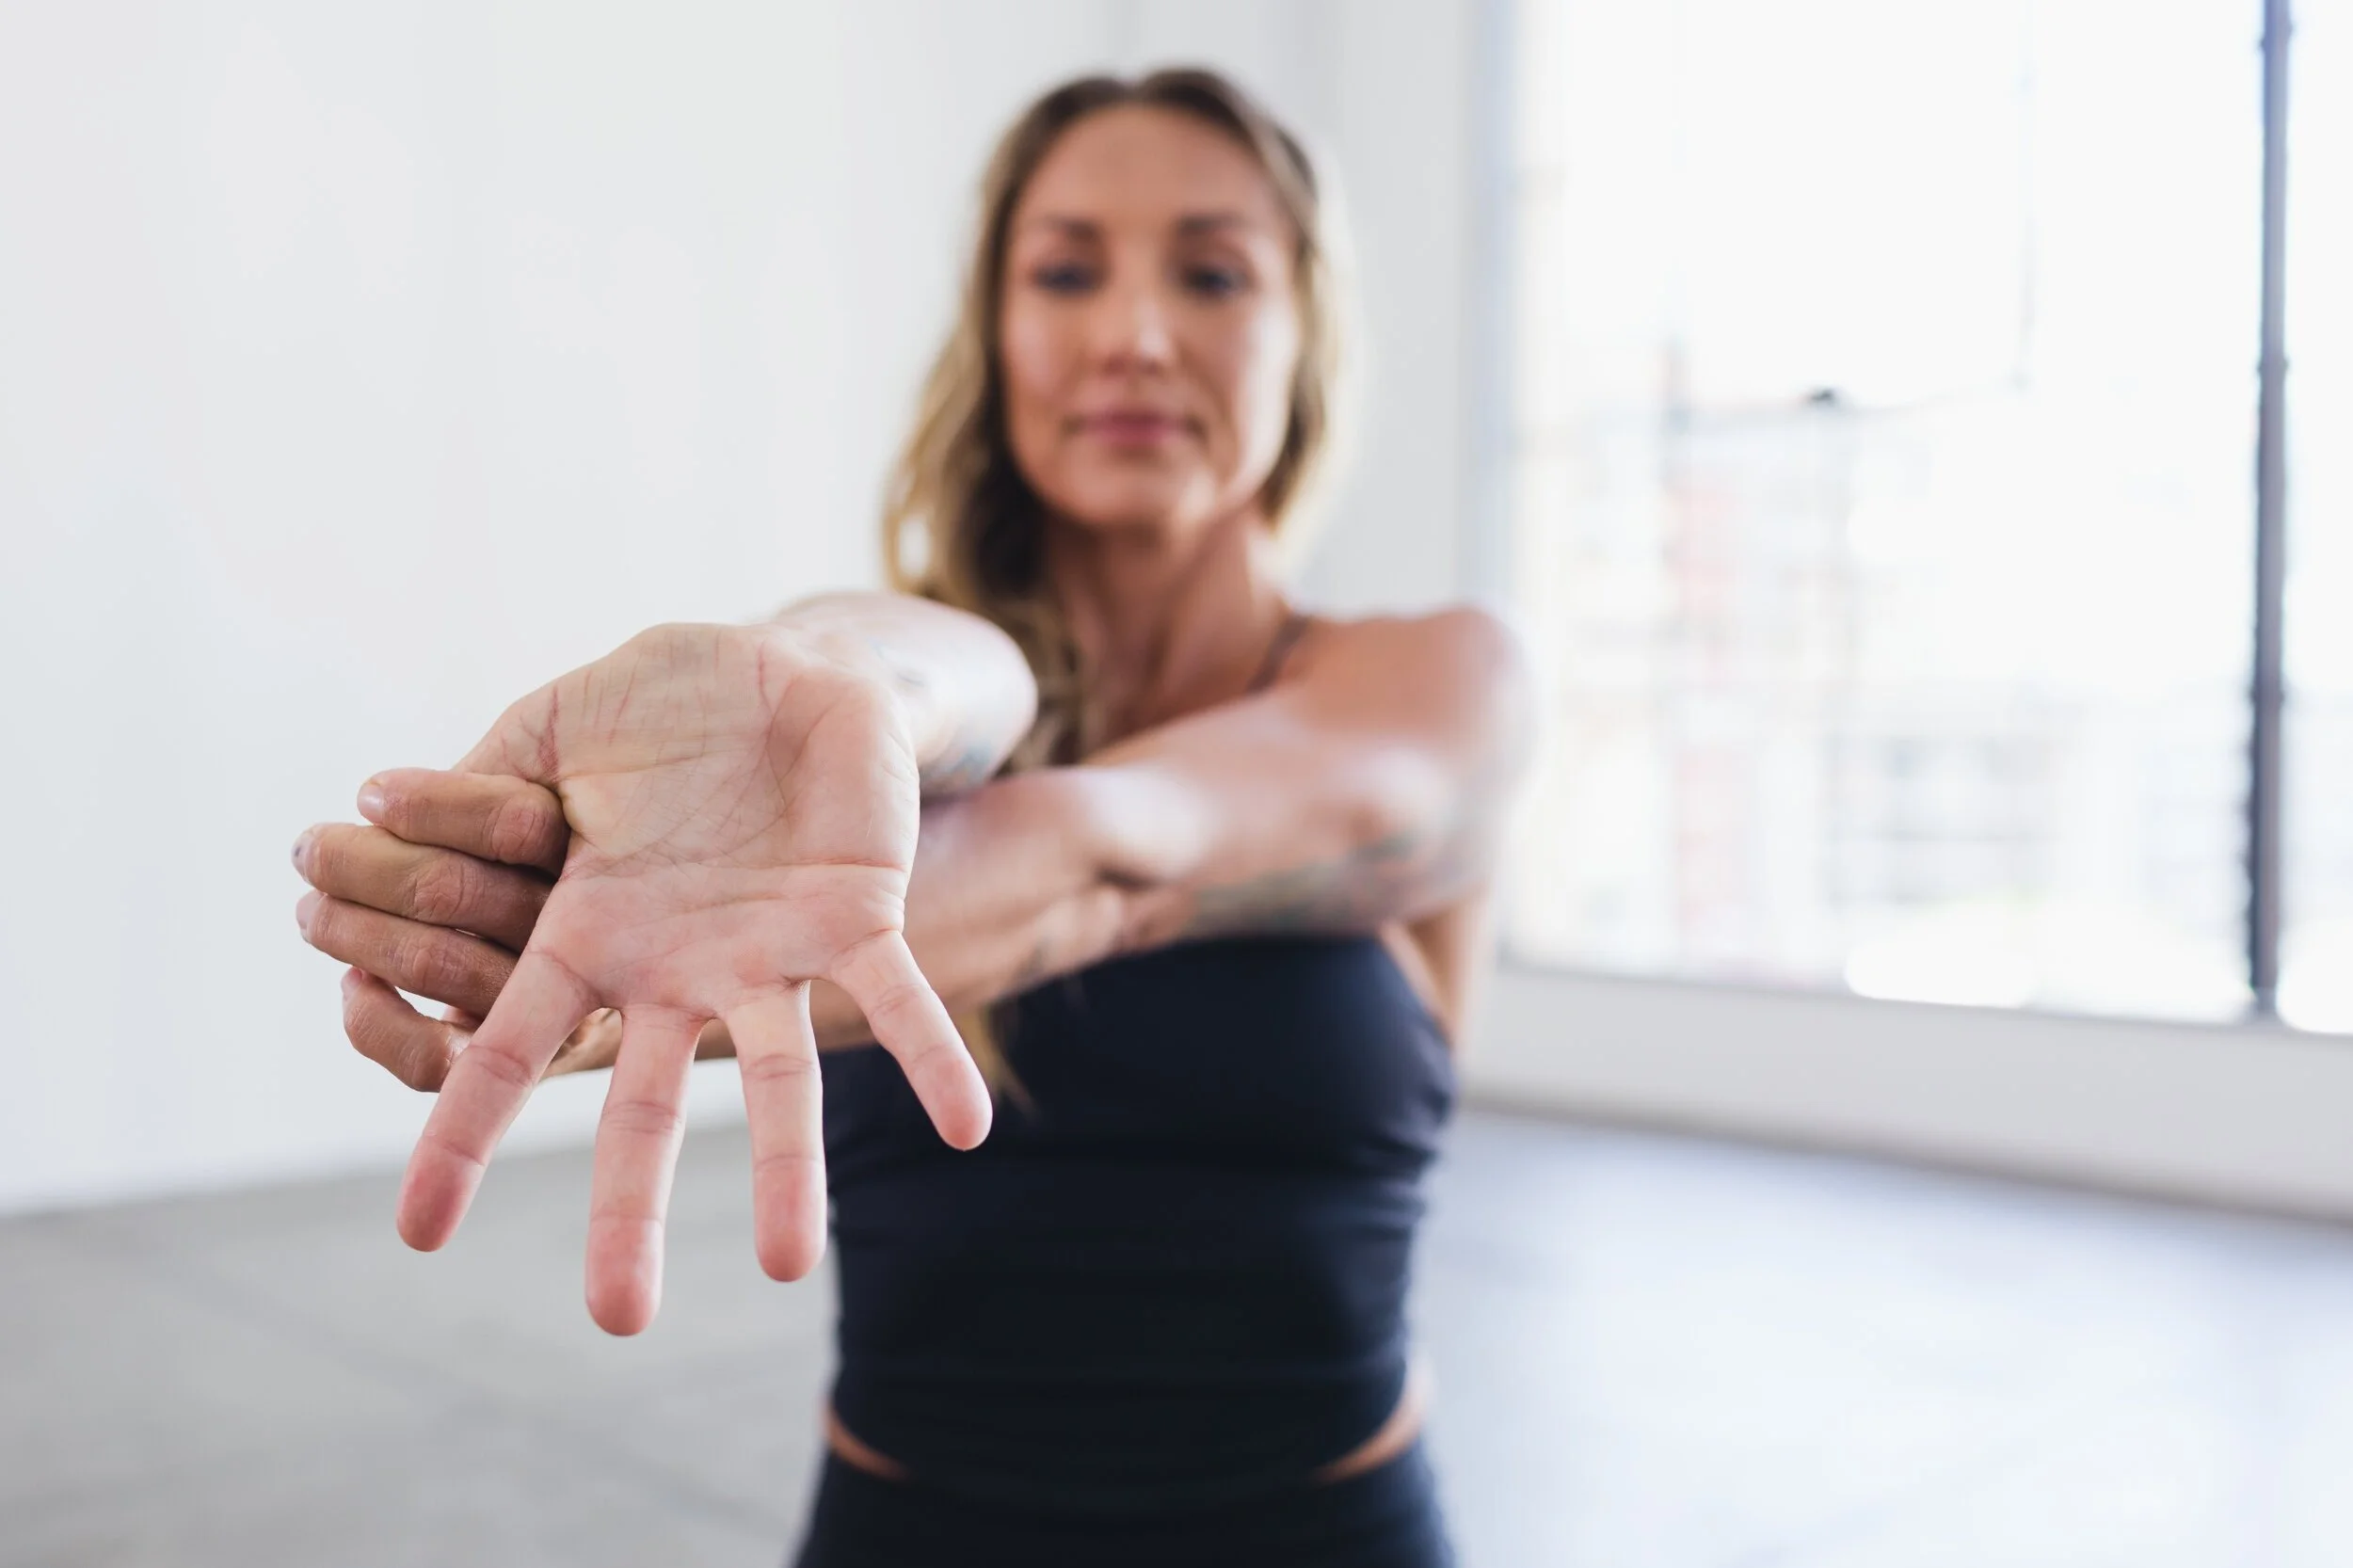
2. Extended-Arm Finger Stretch
Extend your right arm out with your palm face up. Stretch your fingers toward the ground and wrap your left fingers around your pinky, supporting your knuckle joint with your thumb. Take a deep inhale and let your shoulders roll down as you exhale. Gently pull your fingers back toward your torso as your other four fingers stretch wide and separate to open up your palm. Move on to your ring finger and repeat, taking one deep, cleansing breath per finger until you’ve stretched them all, ensuring your fingers don’t curl in as you stretch them. Then, switch hands and repeat.
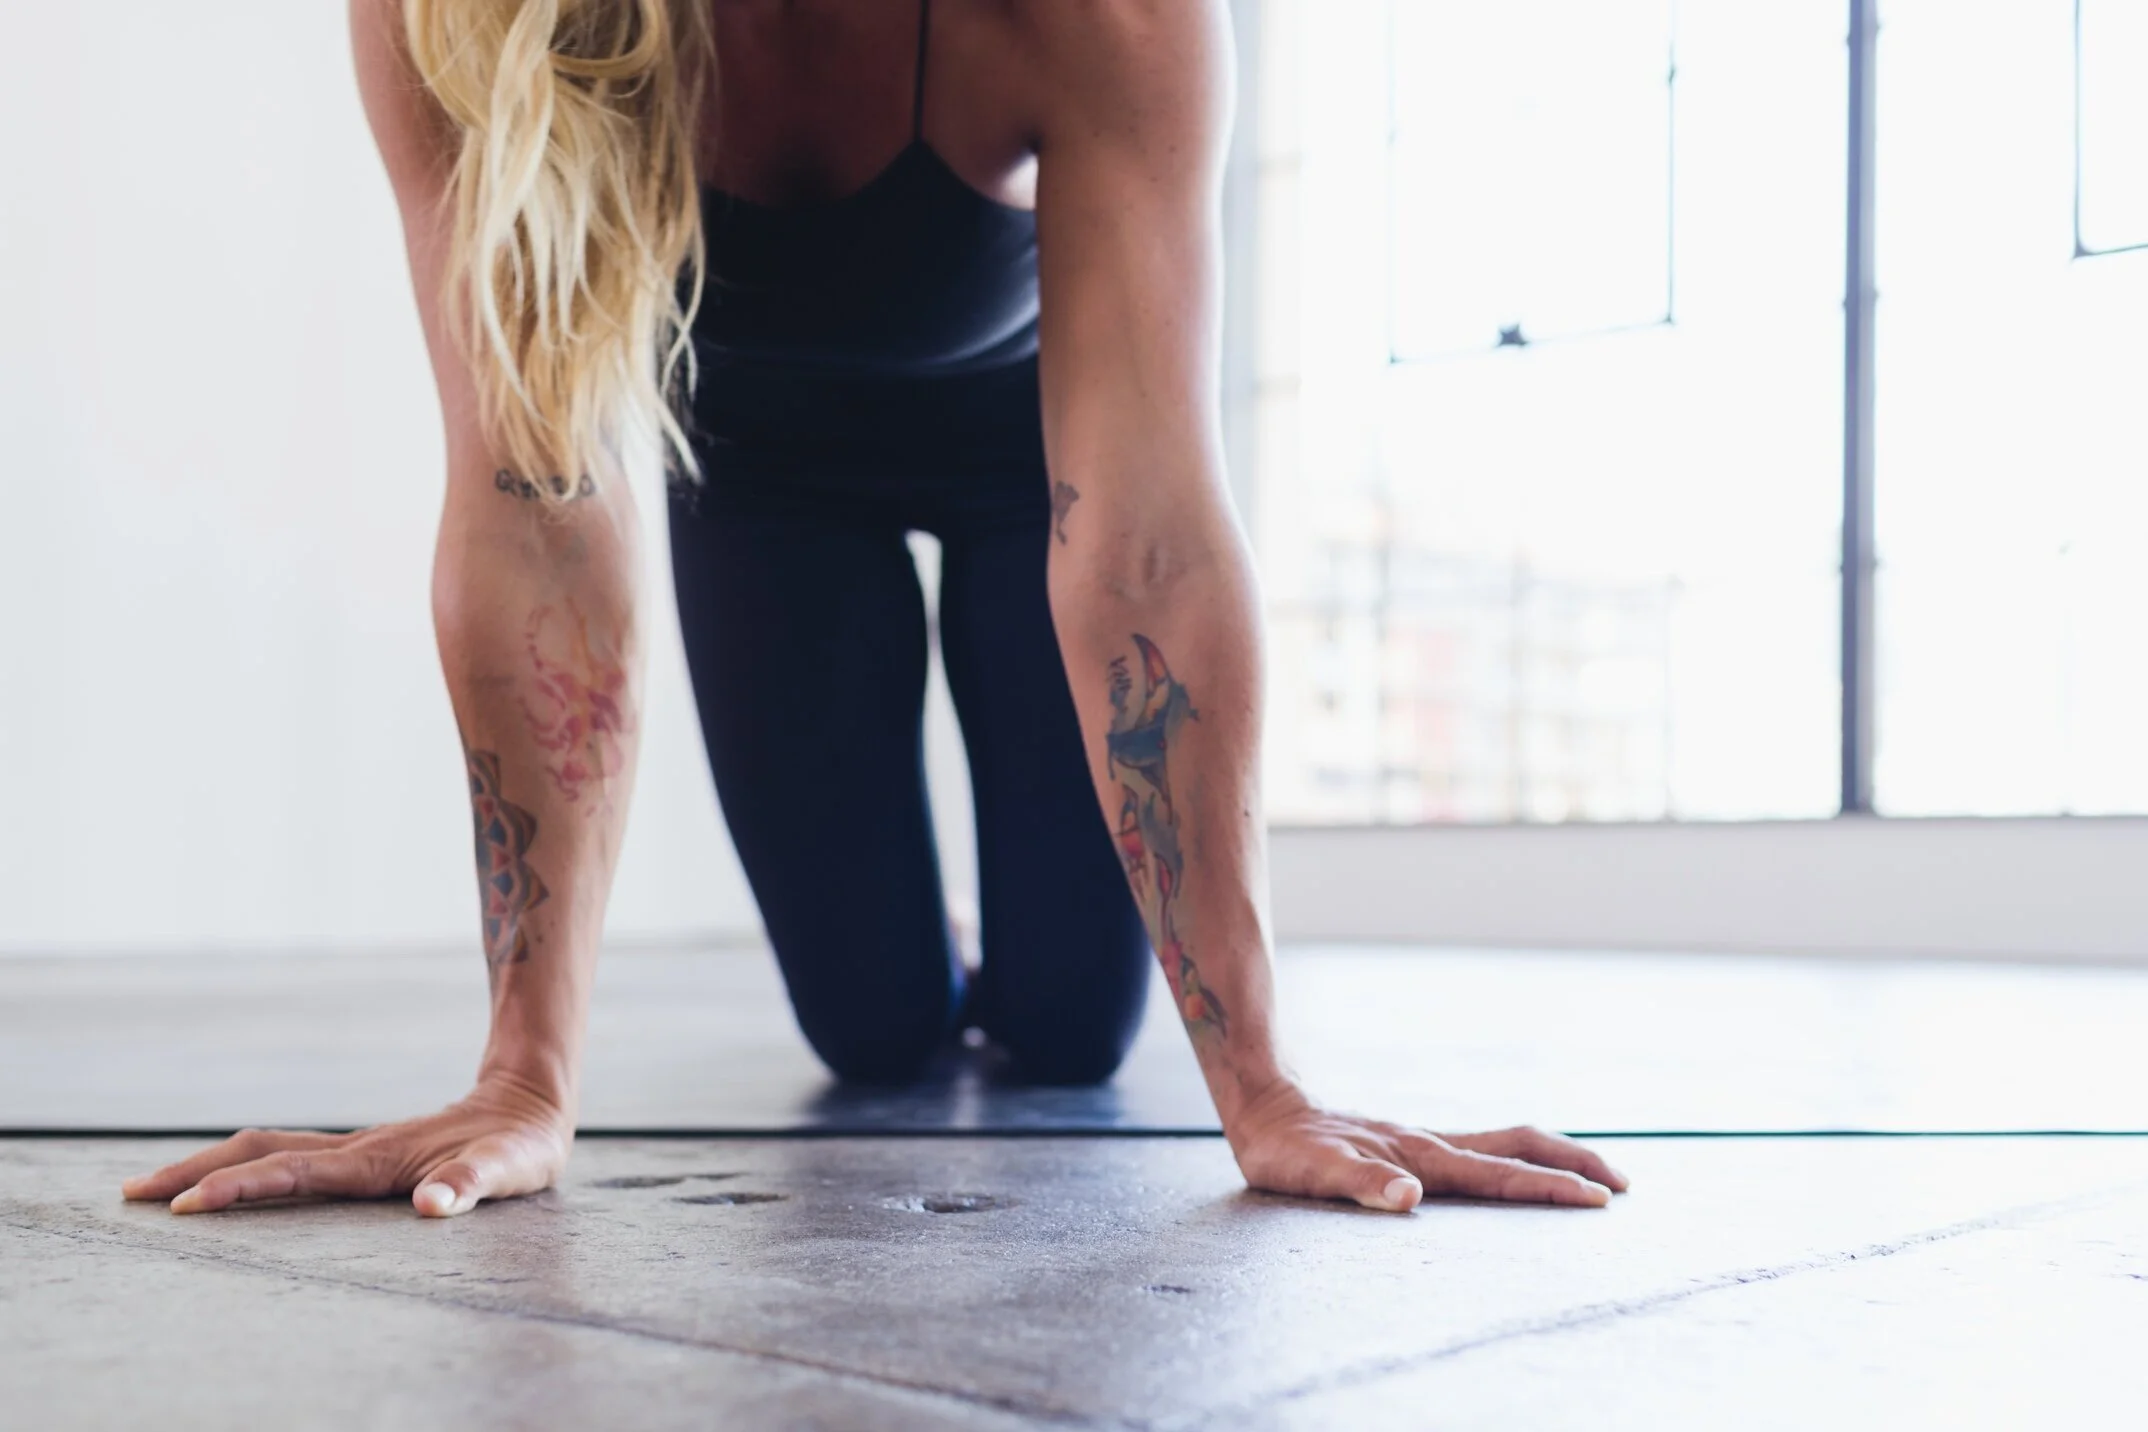
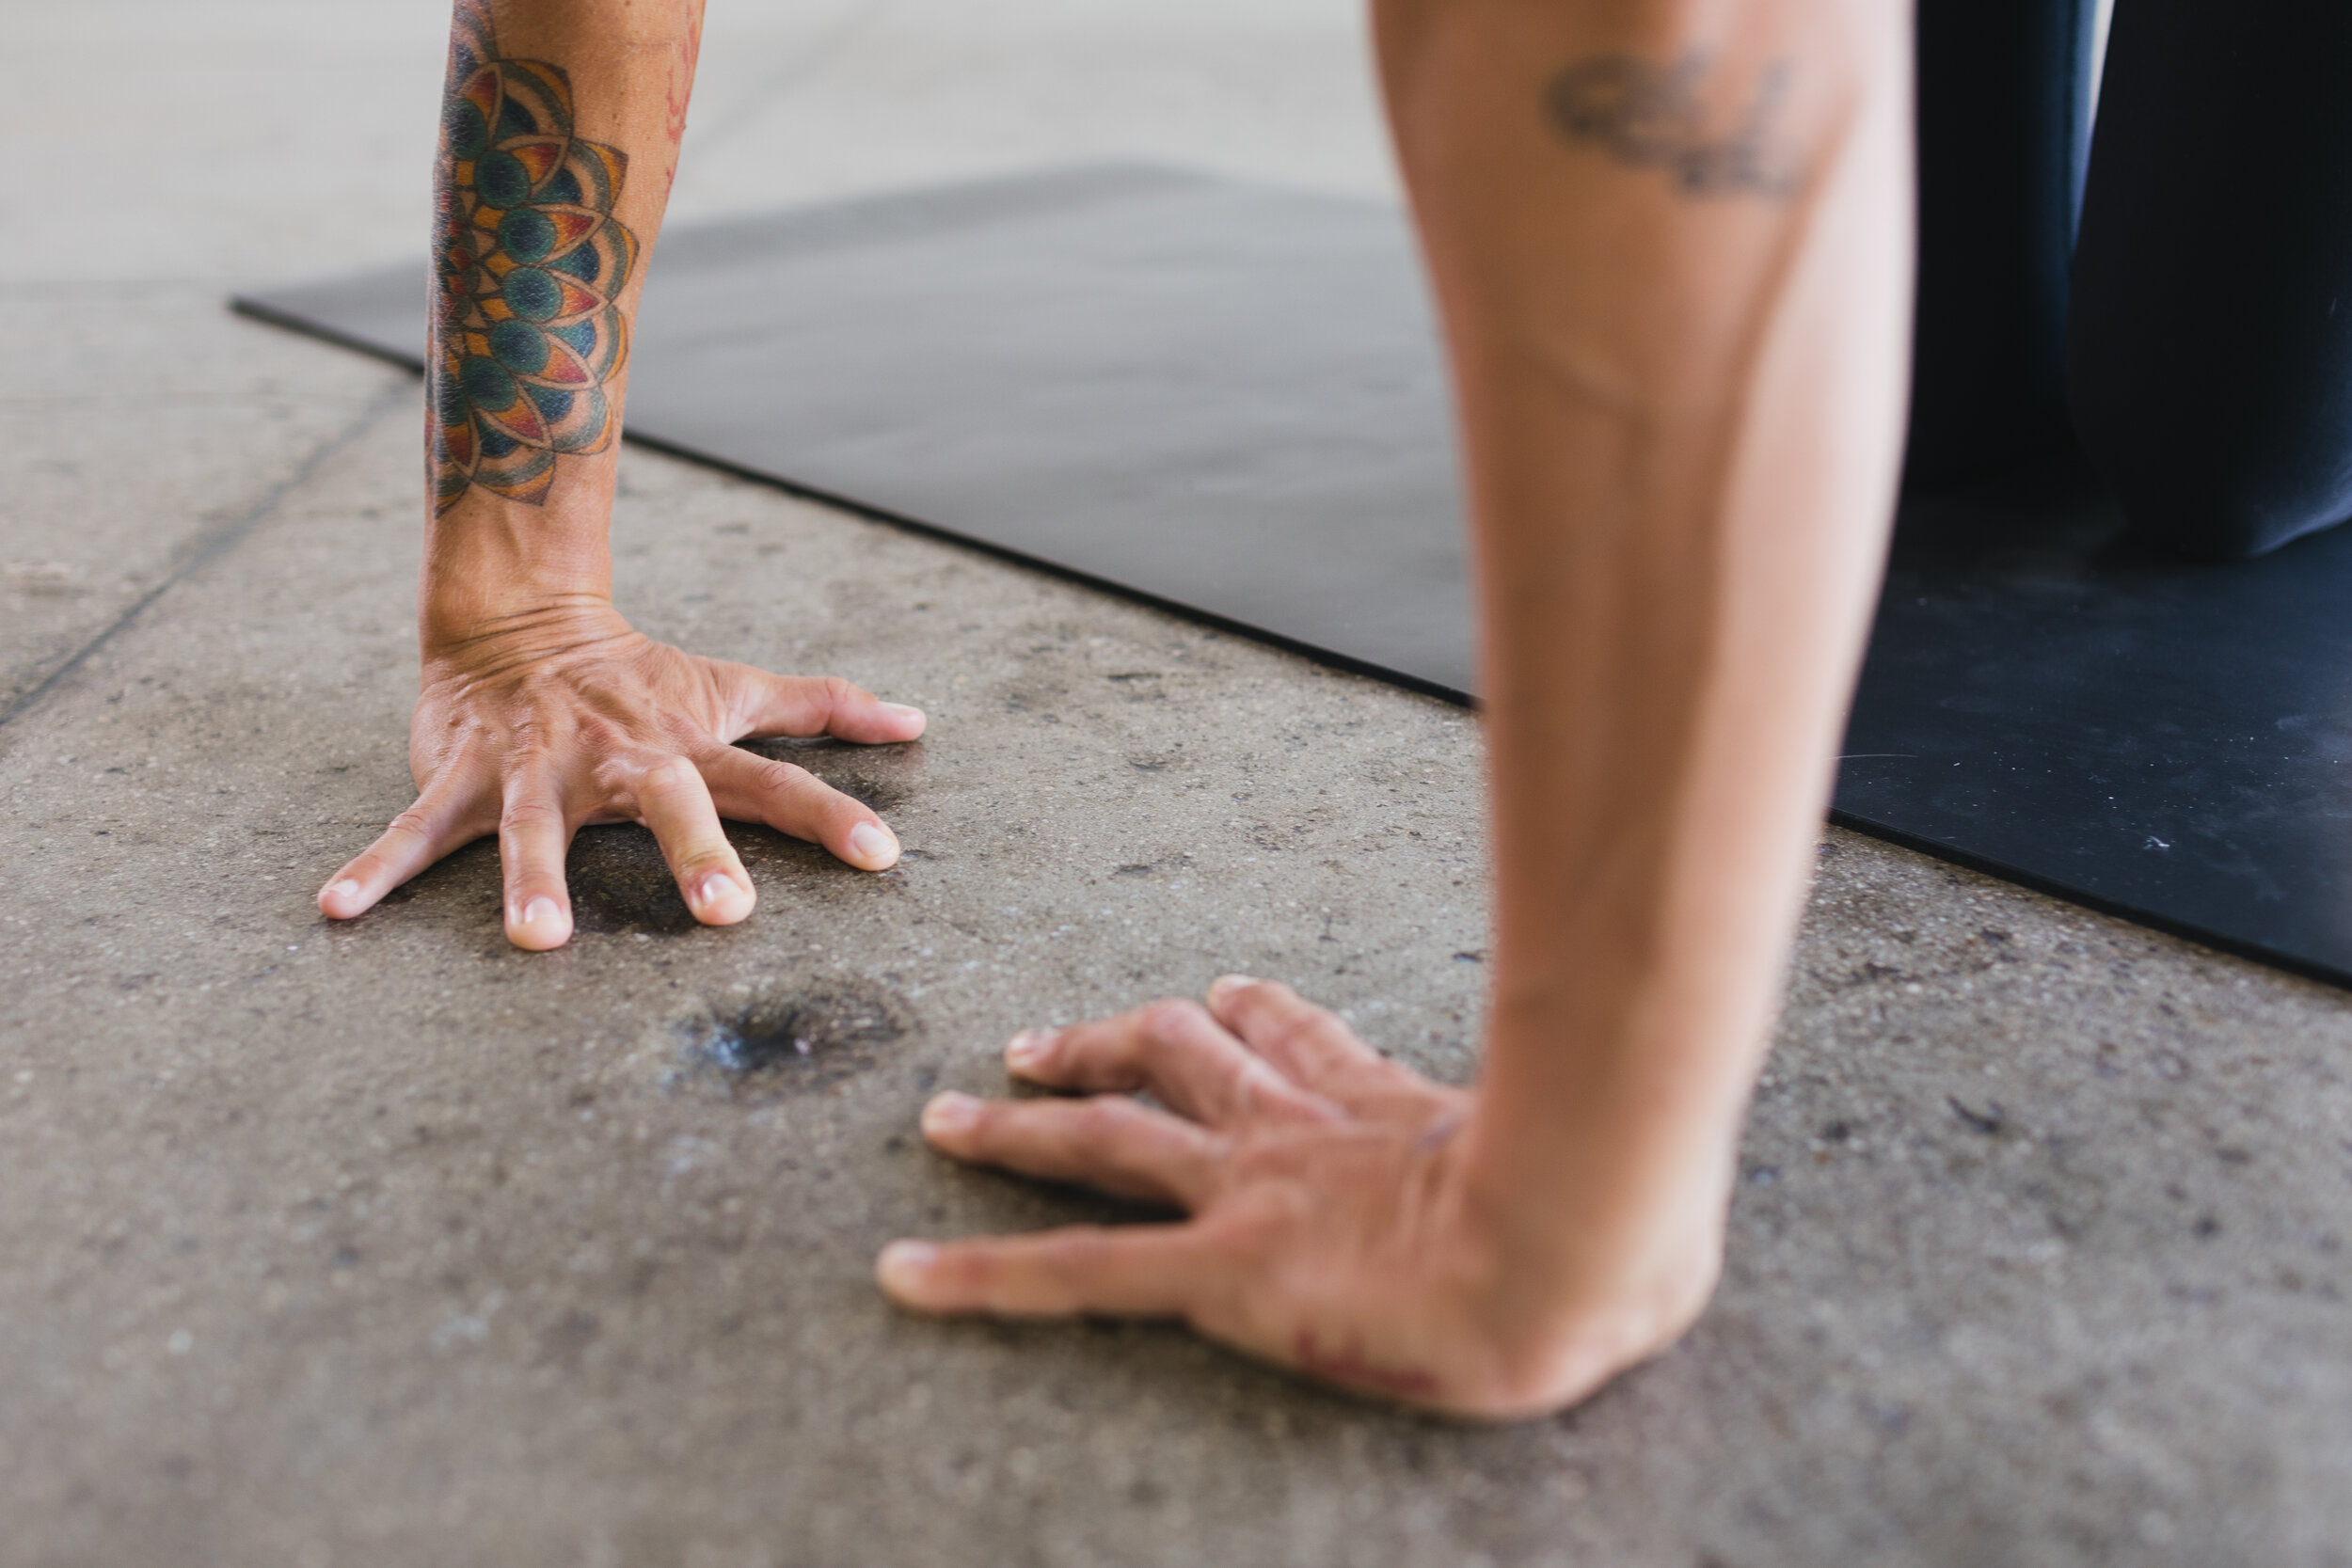
3. Tabletop Wrist Stretch, fingers out
Come onto all fours, facing your fingers outward on the mat. Start to make some little circles with your upper body, keeping your belly engaged and warming up your wrists. Look in towards your navel and round out your back as you continue making circles, inhaling and exhaling through your nose and out your mouth.
4. Tabletop Wrist Stretch, fingers in
With fingers facing toward each other as you remain on all fours, start to slowly shift weight from wrist to wrist in a circular motion, allowing your wrist crease to slightly come up from the ground each time.
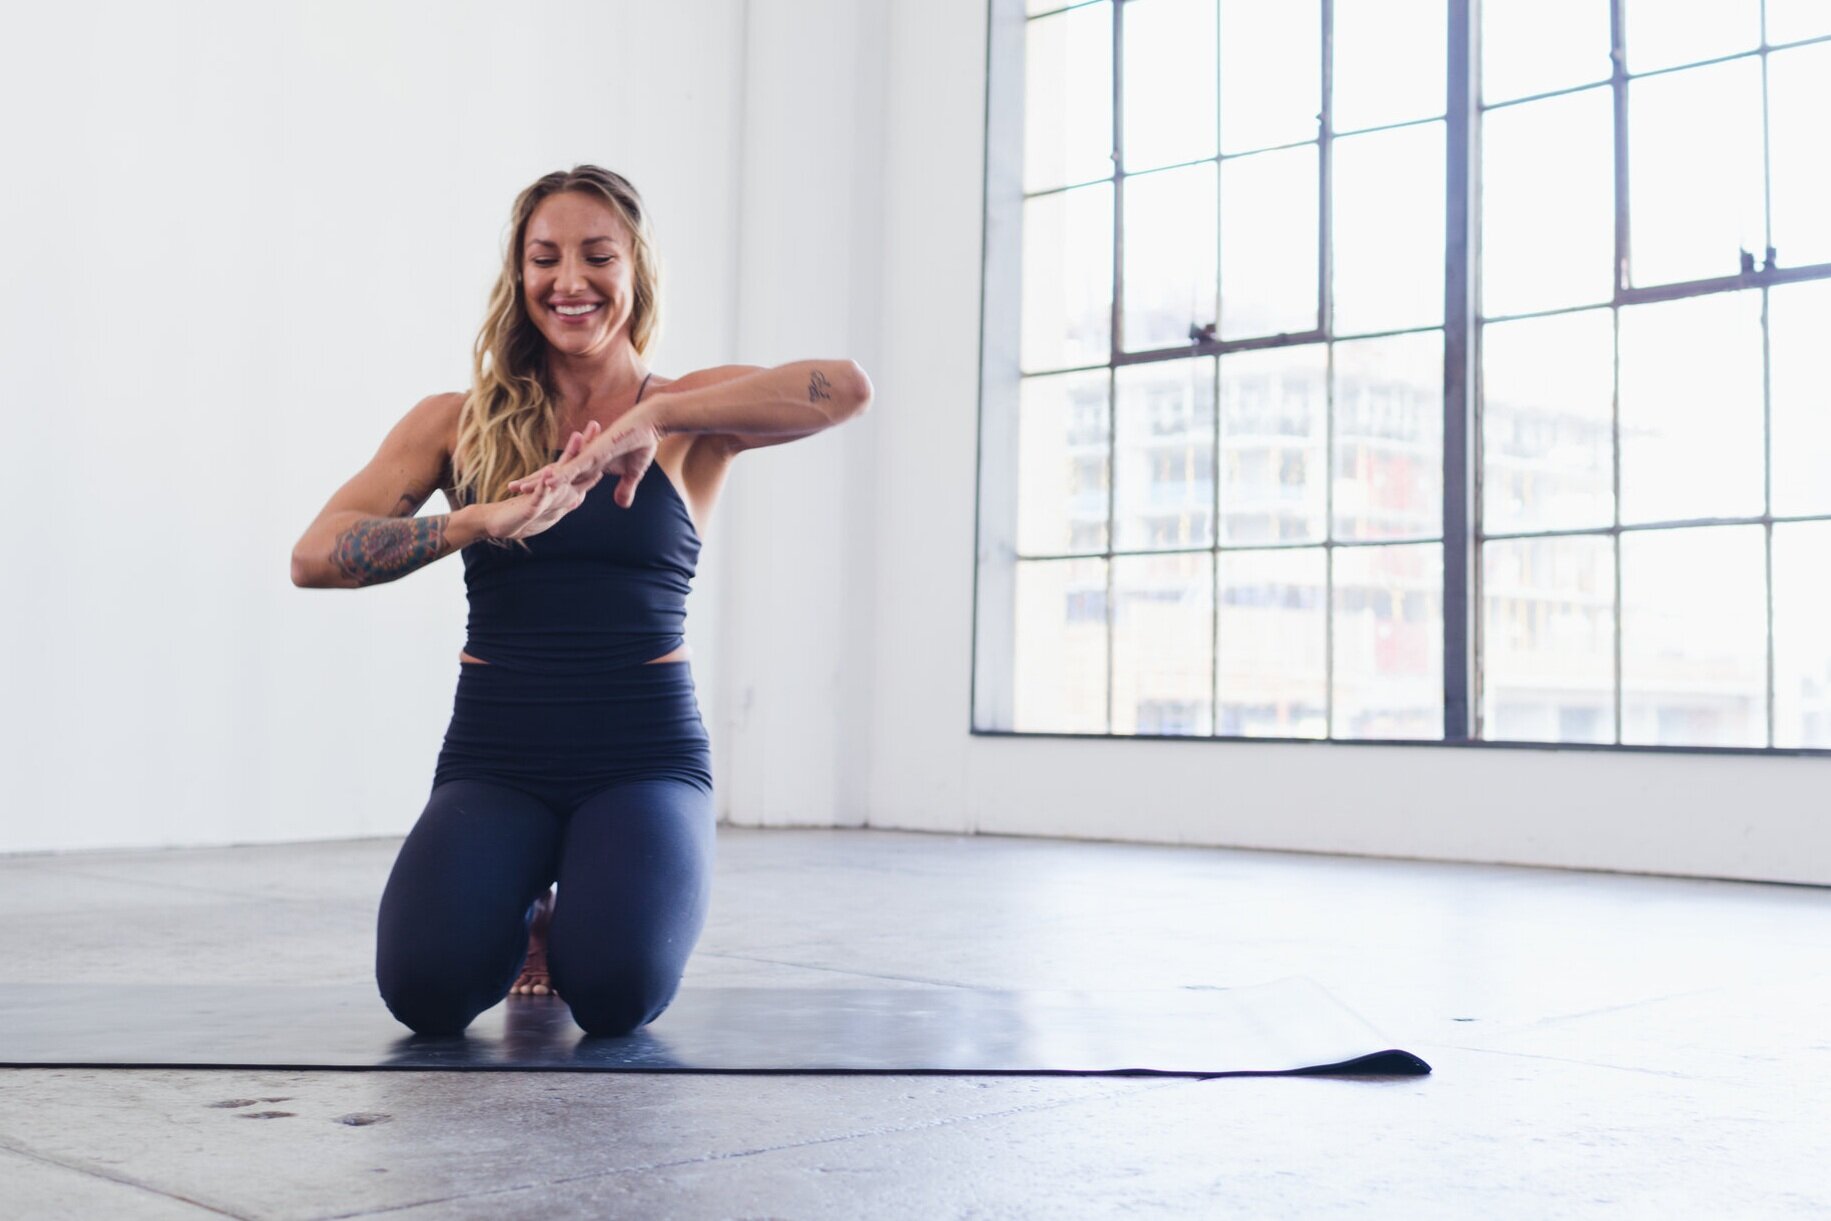
5. Wrist Wave Stretch
Sit back on your heels again, either propped up by your toes, or with the tops of your feet flat on the ground. If this is uncomfortable, take a cross-legged seat. Make little waves by interlocking your fingers and moving your arms in a fluid motion. Remember to focus on your breath as you stretch.
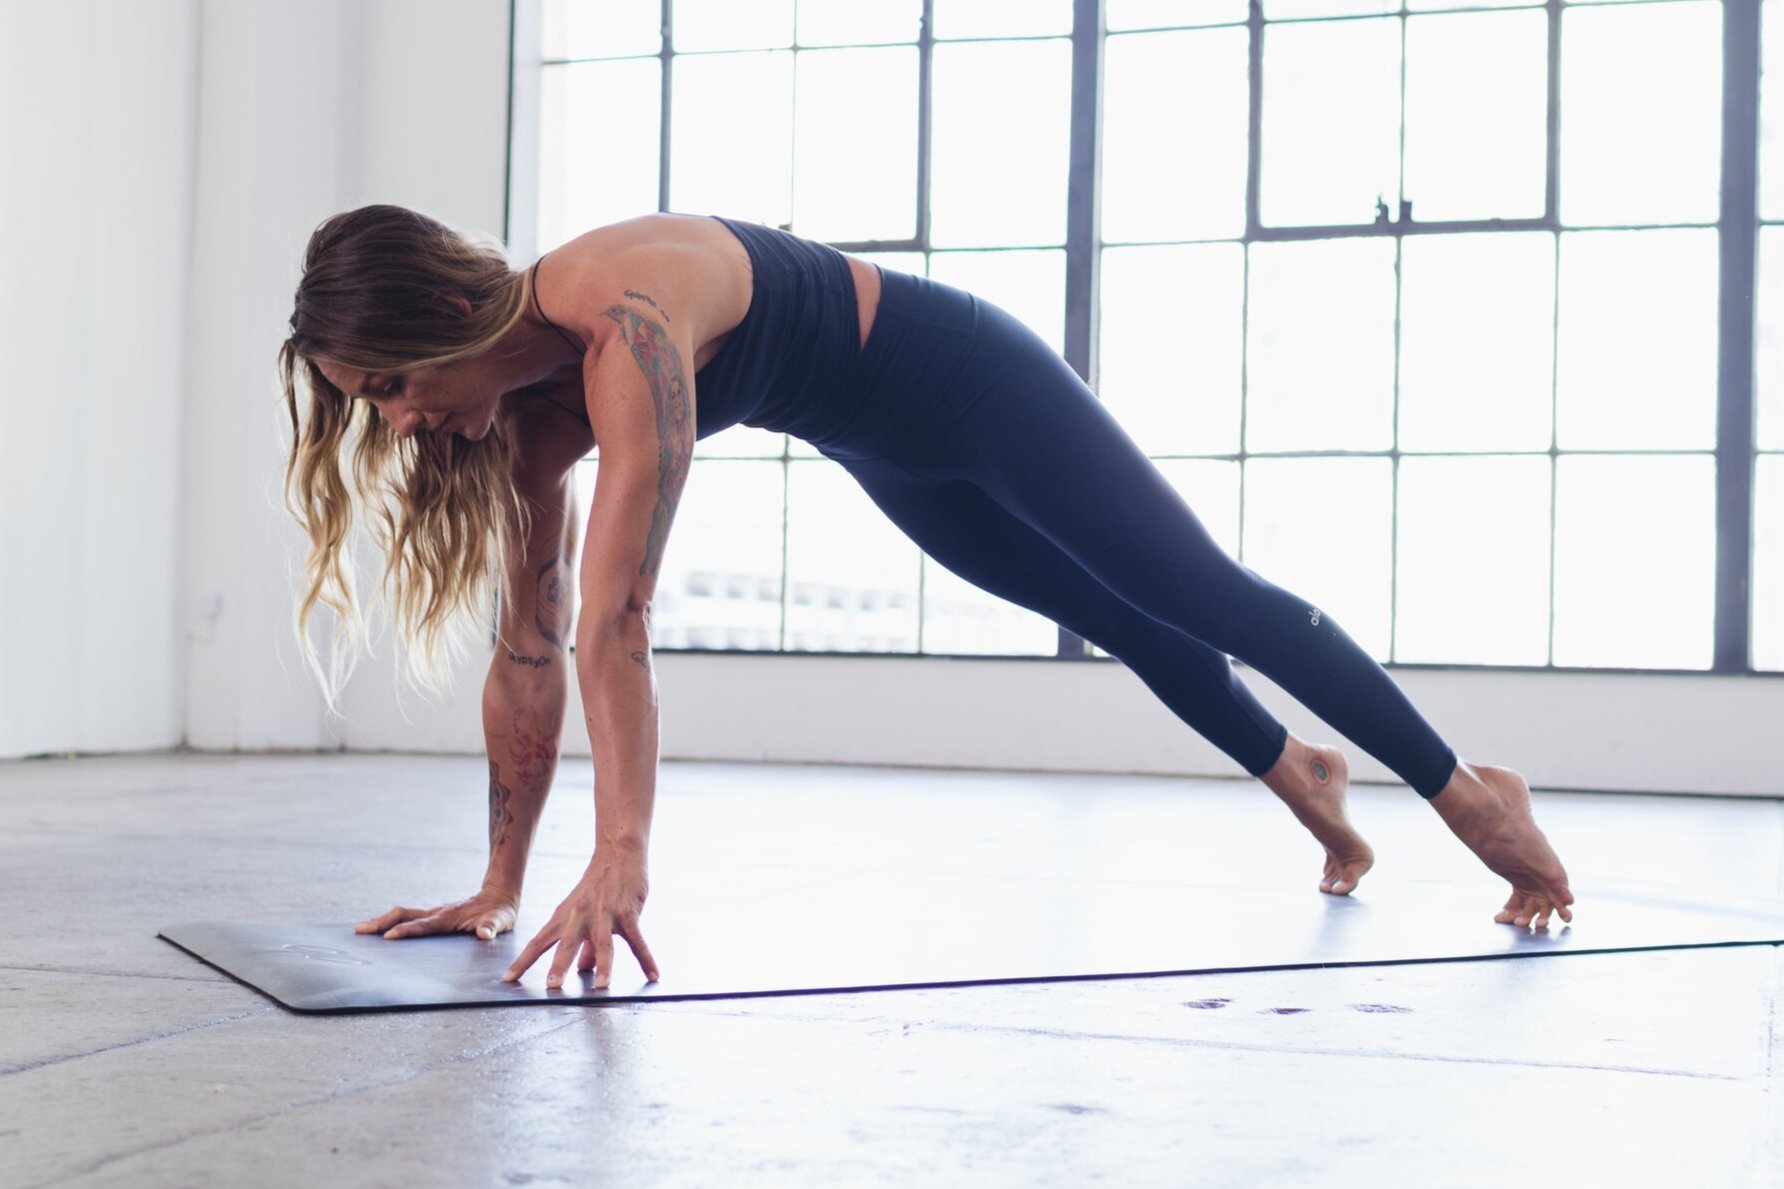
6. Plank Finger Lifts
Go back onto all fours. Align your pointer fingers to be parallel on your mat to create external rotation in your shoulders, and let the pits of your elbows shoot straight forward. Step back into plank pose, or keep your knees down if you start to sag in the middle. Keep your hips as steady as possible and engage your belly as you shift your weight over to one side, lifting the fingers on the opposite hand so that just your fingertips touch the ground. Shift your weight back to the other side and repeat, lifting your fingers up so that only your fingertips on one side make contact with your mat.
Practice the full Wrist Health class with Hannah Haller here on Alo Moves.