These Yoga Handstand Tips from Briohny Smyth Will Help You Soar to New Heights
Want to learn how to handstand, or are you trying to refine your handstand technique? Check out these yoga handstand tips from Alo Moves instructor Briohny Smyth.
Tip #1:
Learn how to properly set up your handstand.
Start with your hands shoulders-distance apart. For those with tighter shoulders, you can bend your elbows or place your hands a little bit wider. Traditionally, your middle fingers face forward with the creases of your wrists parallel to the front of the mat. If your wrists are hurting, turn your hands out so your index fingers are forward. Now, grip your mat with your fingertips until you see that the tips of your fingers turn lighter. Notice how that feels. “Your fingertips are your brakes,” says Briohny. “Any muscular engagement in your forearms helps to protect your wrists and elbows. Make sure you’re always gripping to have that muscular engagement.”
After you grip with your fingertips, your base knuckles might want to lift. It’s fine for the knuckles in the middle of your fingers to lift, but you want to push down through your base knuckles, especially the index finger base knuckle.
“When it does lift, a lot of weight goes into the outer side of your wrist and you could accidentally, or through repetitive stress, really hurt your wrists,” says Briohny. “Your hands and the awareness around the engagement of your hands is really important.” Firm your forearms into the midline so it feels like you're trying to crease the mat up between your hands. That will turn on your entire forearm, the inner seam of your arm, your bicep, and even your pecs. If your elbows are hyperextended, take a small microbend and ensure the eyes of your elbows don’t point directly forward.
Tip #2:
Rather than flailing your top leg up, use your bottom leg to help stack your hips.
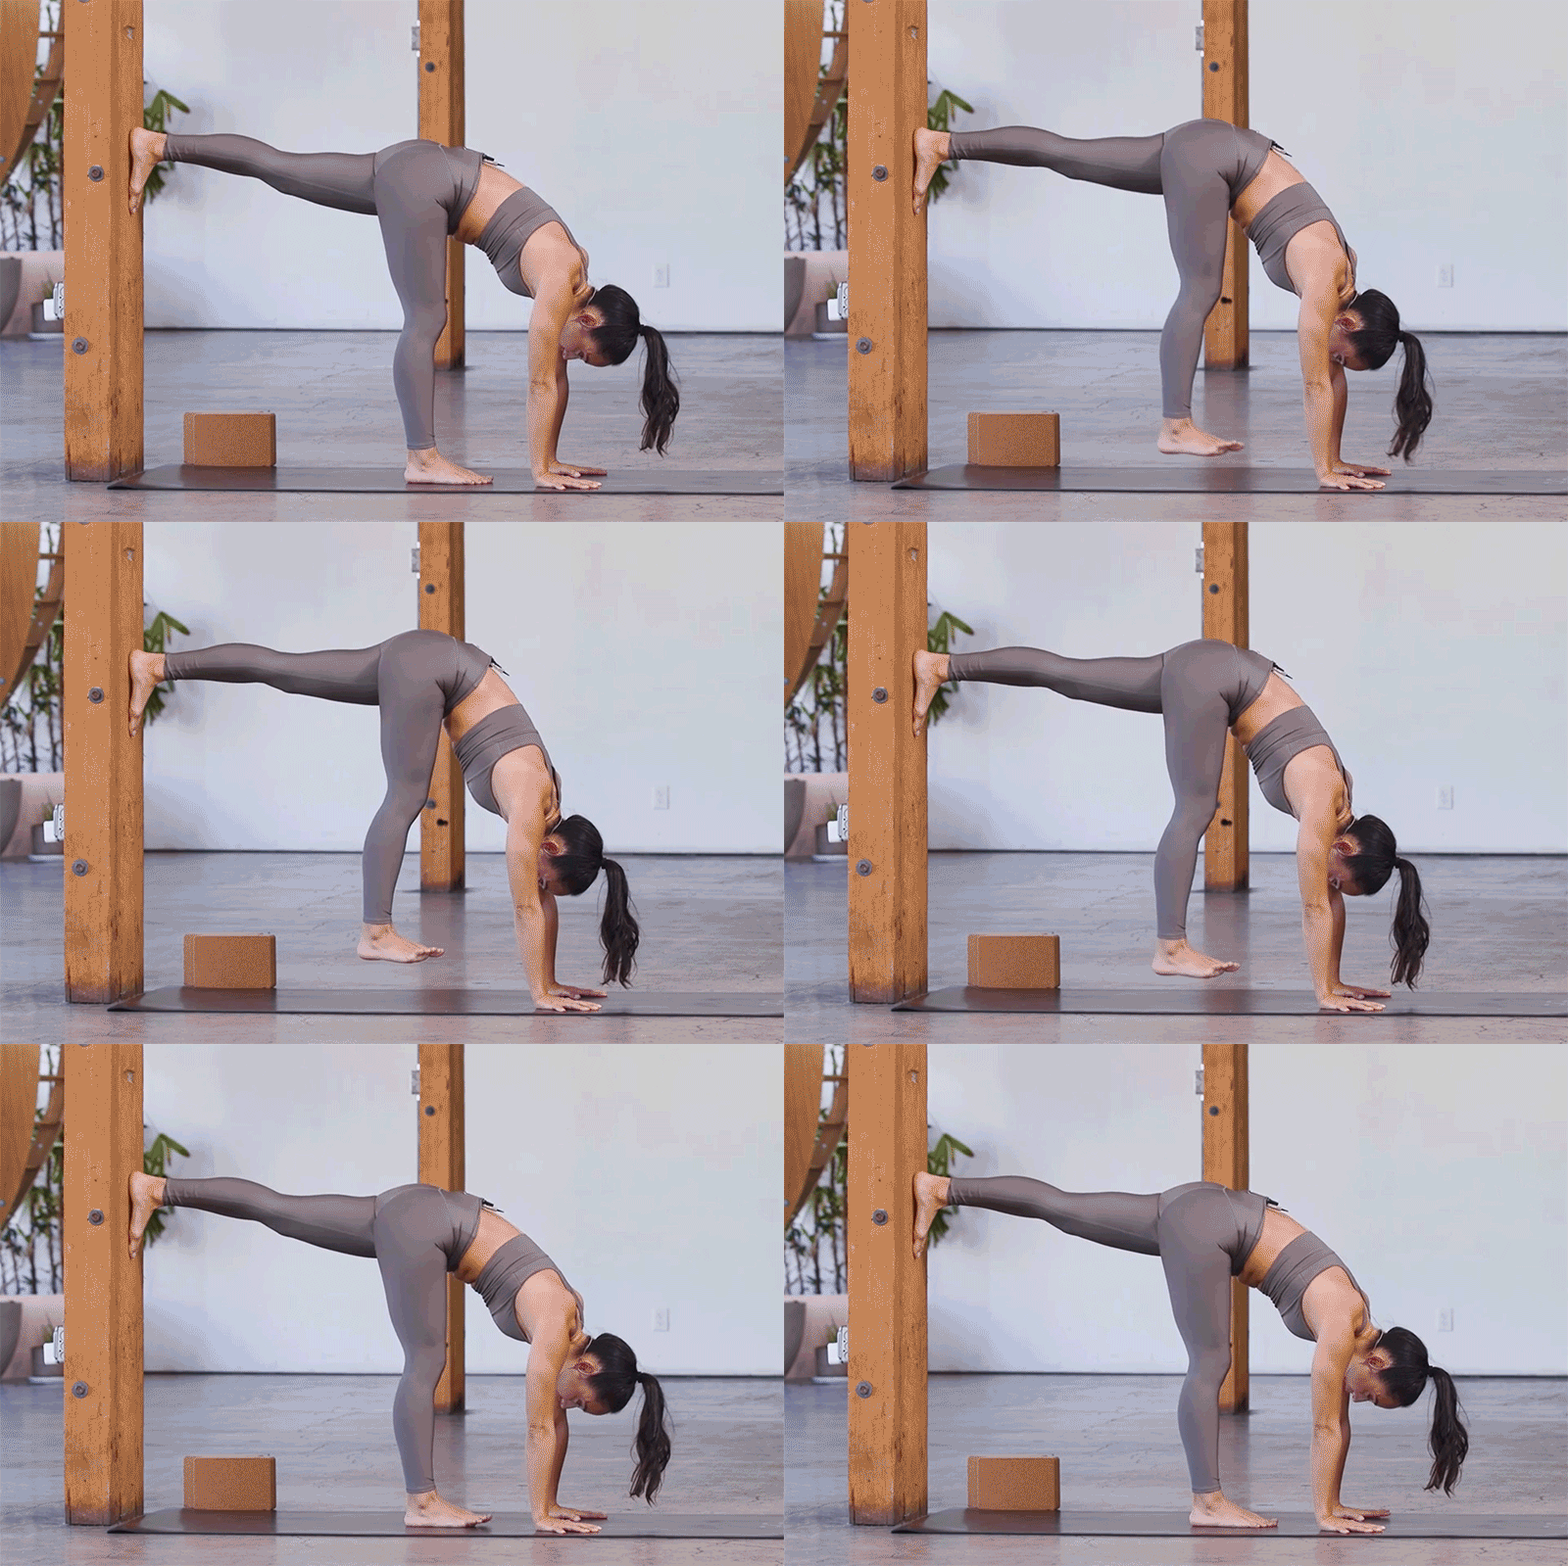
“Because we’re scared of handstand, a lot of us will use our legs to fling into it,” says Briohny. “The key to handstand hopping is to make sure the pelvis comes over next, not the leg.” Try this handstand exercise at the wall to practice your hip alignment for handstand.
In a handstand hop position facing away from the wall, align your right foot right underneath your right hip and press your left foot into the wall behind you. According to Briohny, the distance of your standing leg makes all the difference. “The further your standing leg is back from the hands, the further the hips are away from the hands. Then the further you have to travel.”
Next, make sure your hands are shoulders-distance apart. Grip with your fingertips and firm your forearms in. Take a deep breath in, then exhale to round your upper back, spread your shoulder blades, pull your ribs in, and pull your standing leg thigh bone up off the floor. Lower your right foot back down and repeat. Switch sides.
Tip #3:
Film yourself
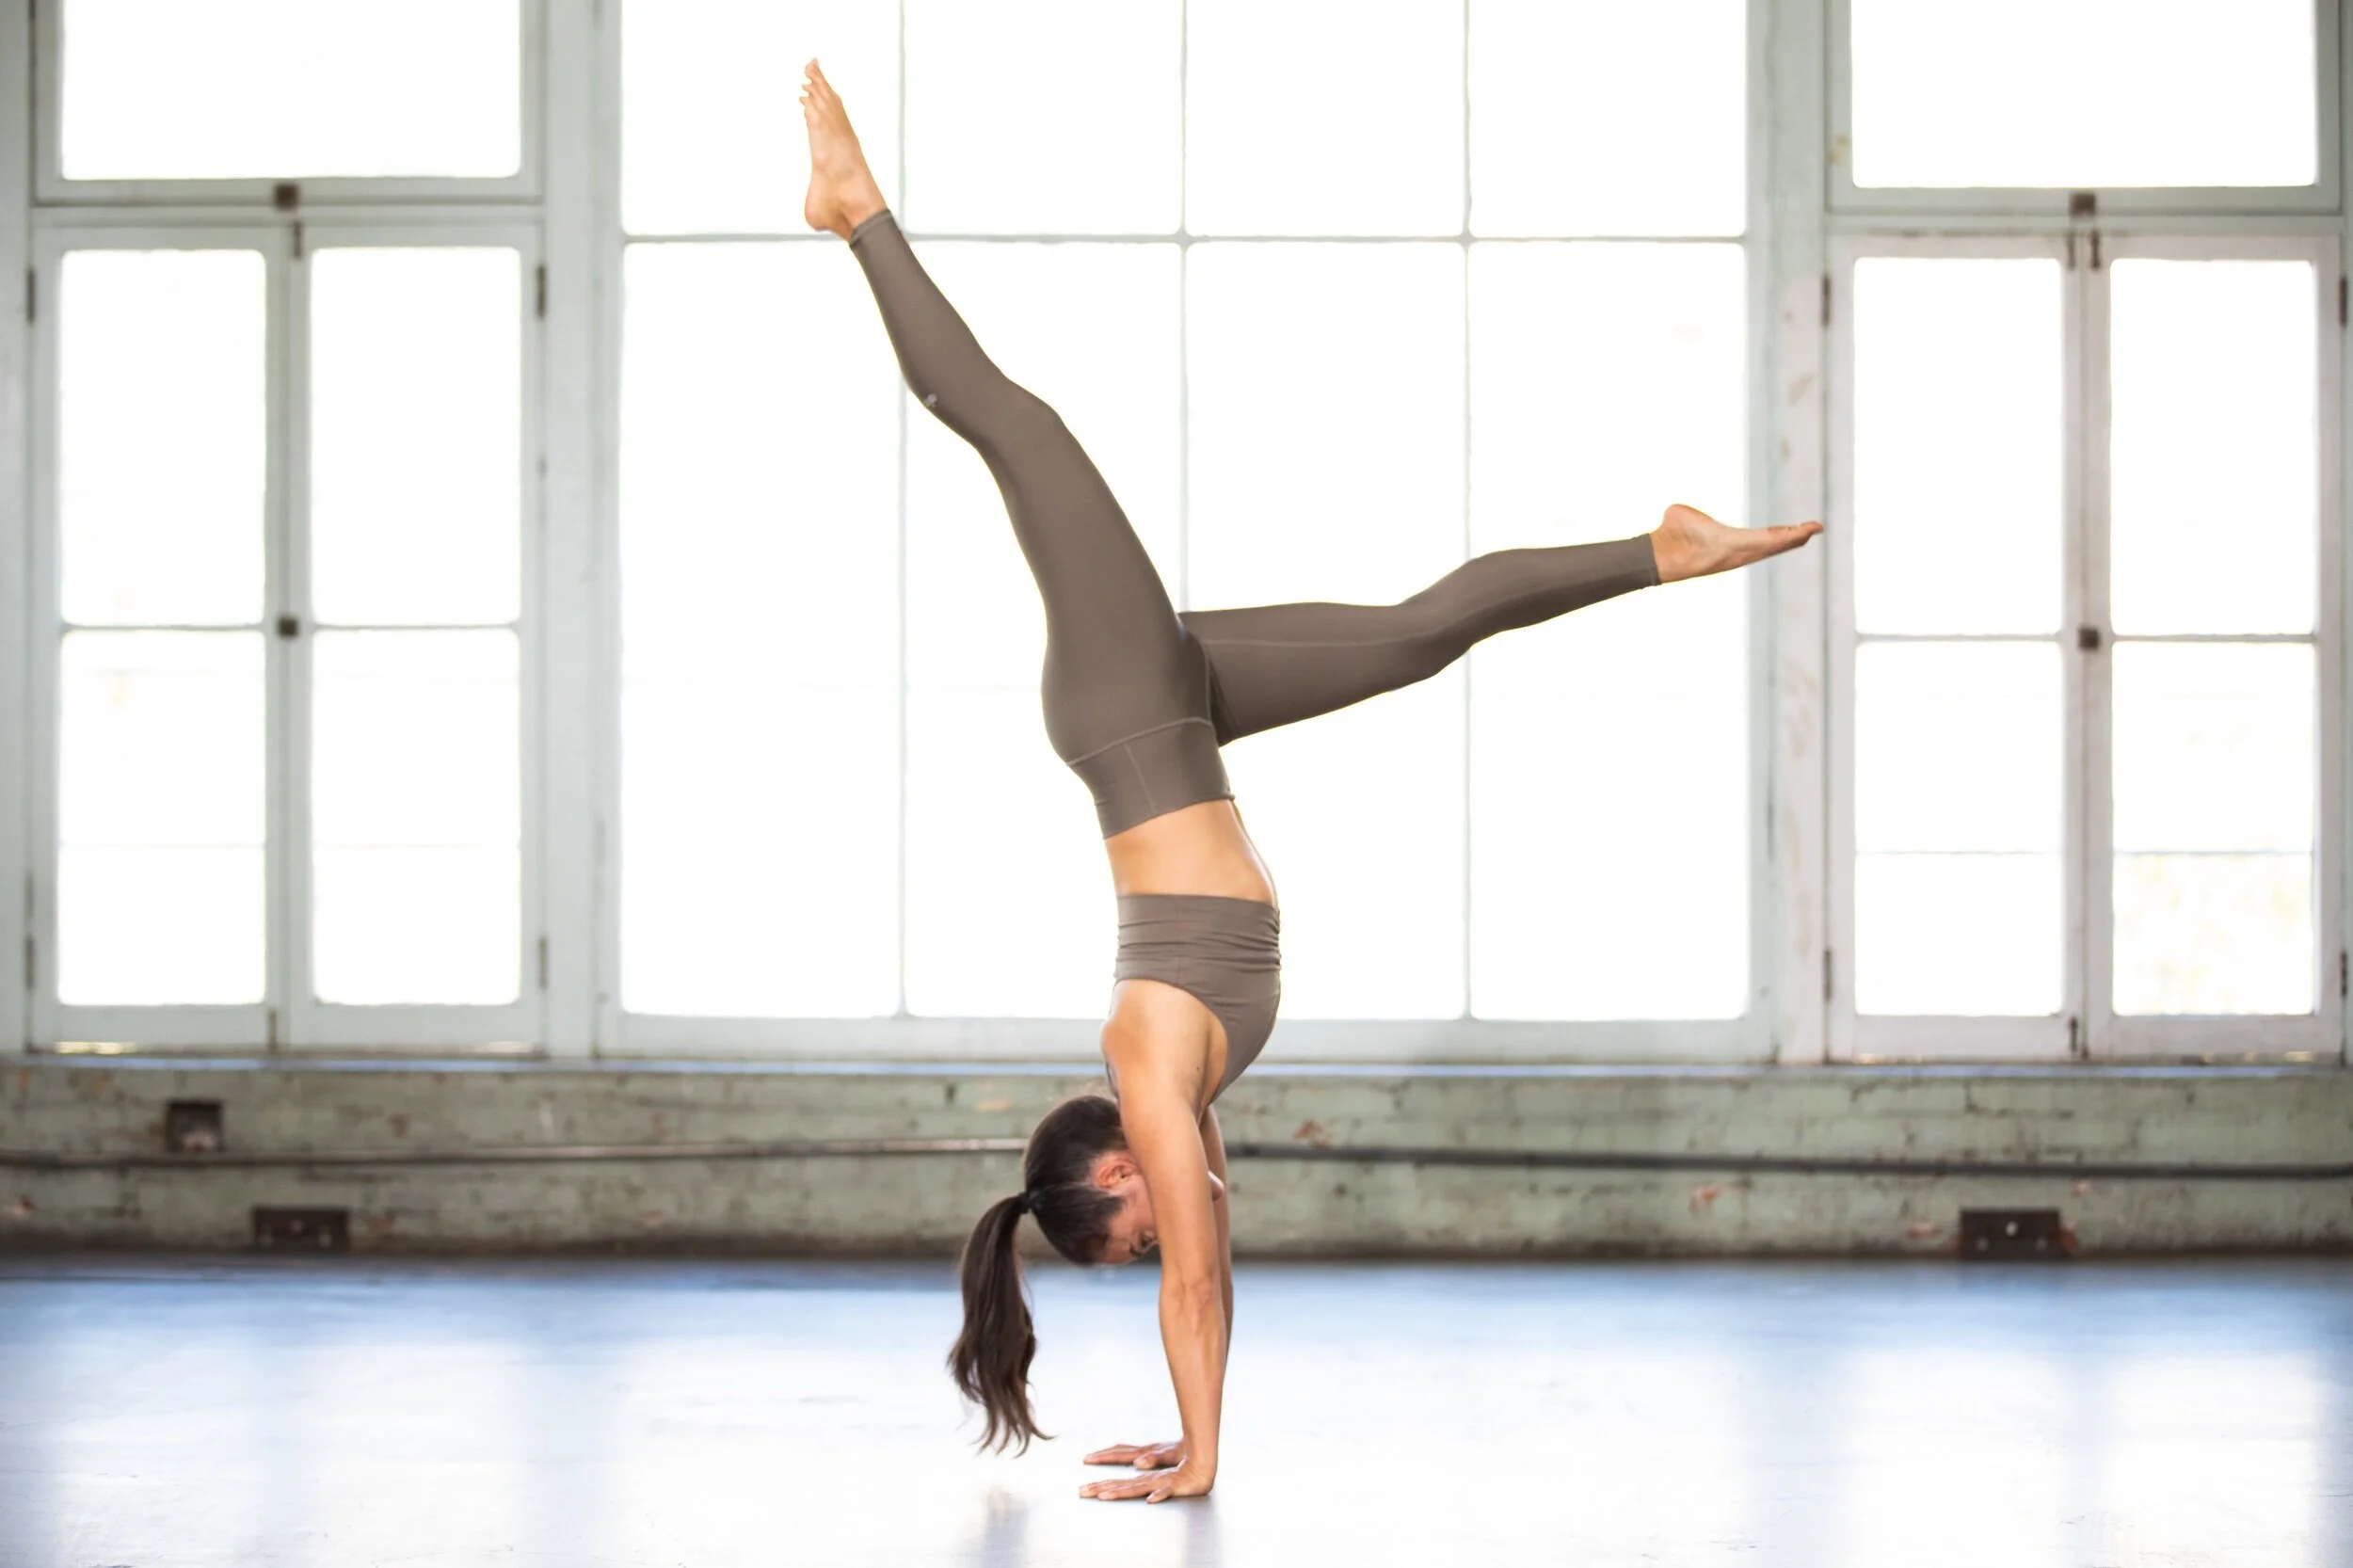
Film from the side if you’re serious about learning how to progress in your handstand. Briohny’s tips: “Shoot from the profile so you can see if you are in fact stacked with shoulders over wrists, hips over shoulders, legs over hips.”
Briohny’s final handstand tip: tight is light. “A lot of us get scared when we’re in that light position,” says Briohny. “The tighter you are before you lift up, the tighter that lift is going to be and the easier it is to stop in that tiny point in space — your handstand.” Instead of falling out in that light moment, hop up, stop, and “get stubborn” in your mind.
“Get stubborn in your fingertips, ribs, shoulders, glutes — you’re thinking ‘stop.’ Hold as long as you can. Getting stubborn here gets the body stubborn, but also getting stubborn in the body gets the mind stubborn. It works really, really well when the mind and body are working together.”
Want to learn more handstand tips and practice handstand drills with Briohny? Check out her full Handstand Tips class on Alo Moves. Access this class and more with a free 14-day trial.


