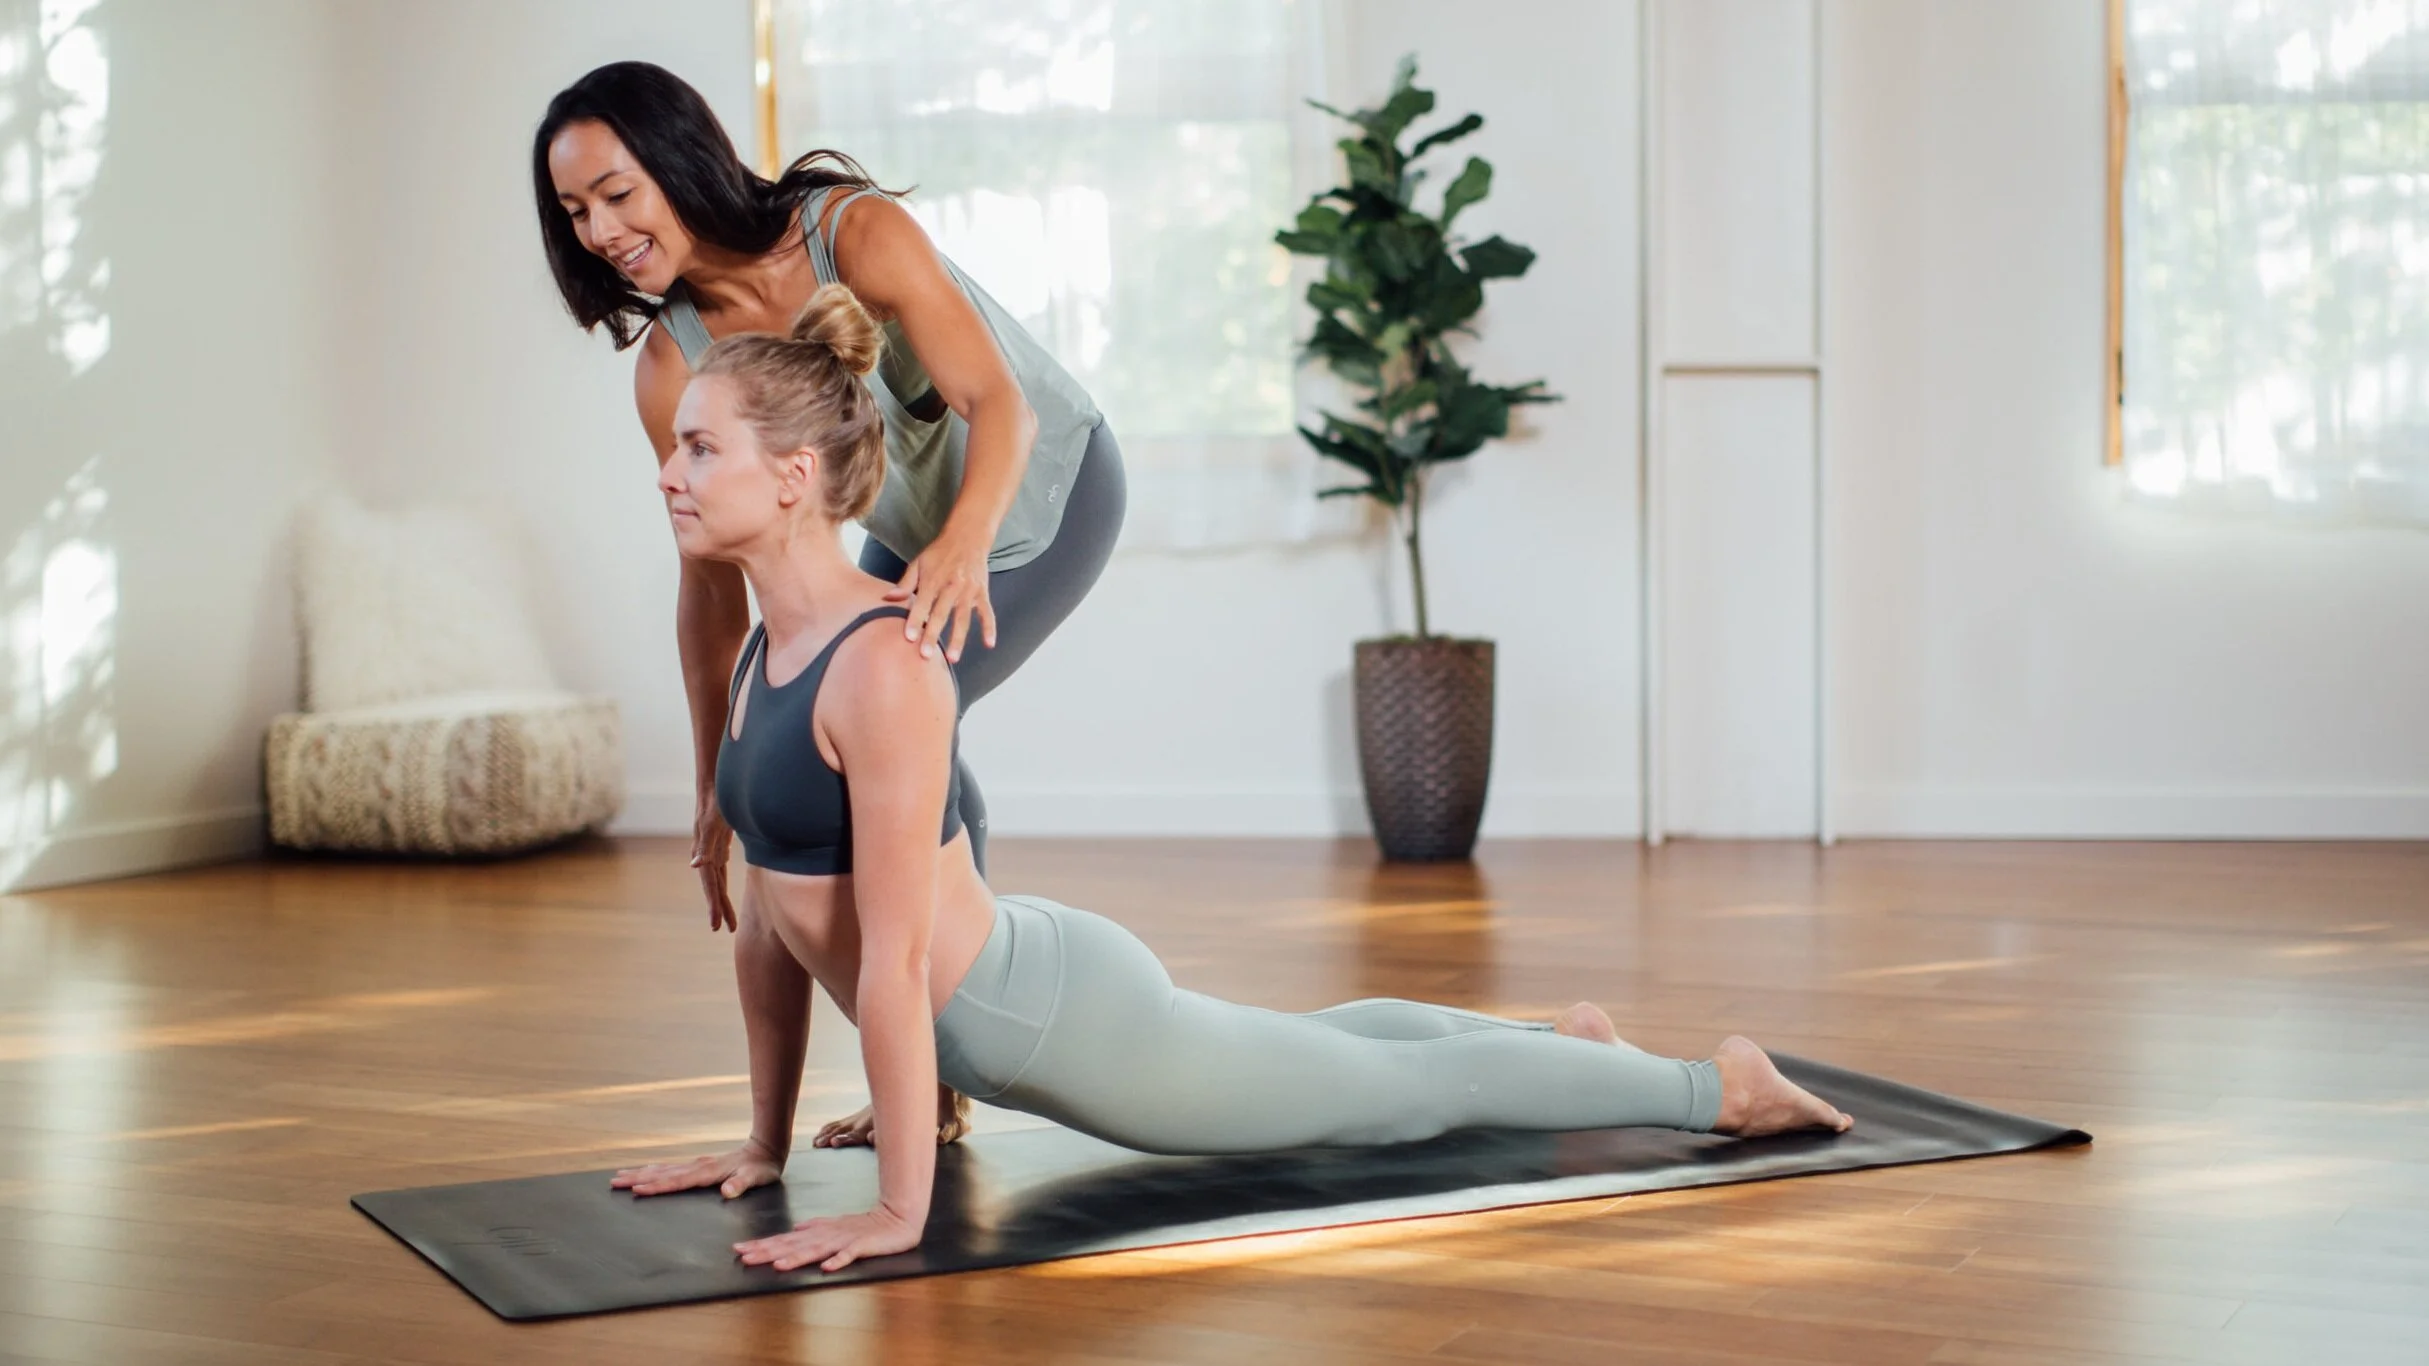
Teaching Tips: How to Cue the Vinyasa
Co-opted from the style of vinyasa yoga, the term “vinyasa” when used in a class typically refers to the pose sequence of downward dog-plank-chaturanga-upward dog that occurs in Sun Salutations. This beautiful set of postures links perfectly together to balance out your body: downward dog strengthens your arms and opens your back body; plank strengthens your arms, front body, and torso; chaturanga works your arms; and upward dog opens your front body, strengthens your back, and counters the poses you just did. And when you come back to down dog, it counters upward dog. It strikes the perfect balance.
When it comes to teaching the vinyasa, which typically occurs quickly to the pace of your breath, teachers may not have the time or make the time to correctly cue the alignment in each posture. The solution? Have the first sequence move a little bit slower and talk through each pose so your students have the opportunity to reap the full benefits of the vinyasa in class and in their future practices. In this article, we’ll break down effective and concise alignment cues for the vinyasa from teacher trainer Briohny Smyth.
The Importance of Setting Up a Correct Foundation
“What’s important for the transitions in vinyasa is the space between hands and feet,” says Smyth. “When students start out in a short down dog, they do this because it’s easier. There’s more weight in the hands. The wider or the longer your stance is, the harder it is, and you have to engage your core.”
If a student were in a short down dog, their butt would pike up in plank, their shoulders would be planching forward, and they would be taking a nose dive down to the mat in chaturanga. When they come up to upward dog, their shoulders would be too far forward. To counter short down dogs in class, Smyth asks her students to step their feet back a little bit to make the pose more challenging. It’s also important to make sure students’ hands, arms, and shoulders are in the right place. In downward-facing dog, hands should be shoulders-distance apart with the index or middle fingers forward.
“We create the shapes that we see,” says Smyth. For many people, this leads to practicing with the same incorrect alignment over and over again. Make sure you set up your students well, and pay attention to their alignment so you can cue them into the right position. Read on to see Briohny Smyth’s method of cueing the vinyasa sequence.
How to Cue the Vinyasa
Exhale to downward dog.
Grip the ground with your fingertips.
Firm your forearms in.
Spread your shoulder blades wide.
Draw your ribs and navel in.
Inhale, shift forward into plank.
Make sure your shoulders are right on top of your wrists.
Step your feet back until the balls of your feet are underneath your heels.
Draw your ribs and navel in.
Firm your inner thighs.
Gently engage your glutes.
Shift all the way to the very tips of your big toes. Put your knees down if needed.
Exhale to lower down in chaturanga.
Don’t go too low — bring your shoulder tips in line with your elbows.
Inhale, untuck your toes and begin to lift up your chest.
Pull your hands back towards your feet.
Lift your inner thighs.
Maybe look up.
Exhale, downward-facing dog.
As a yoga teacher, you’re talking a lot — maybe 95% of the time — which means that every word counts. It’s important to allow your verbal cues and talking to be effective and succinct. Follow these cues to ensure that each student is safe and supported in their vinyasa sequence.


