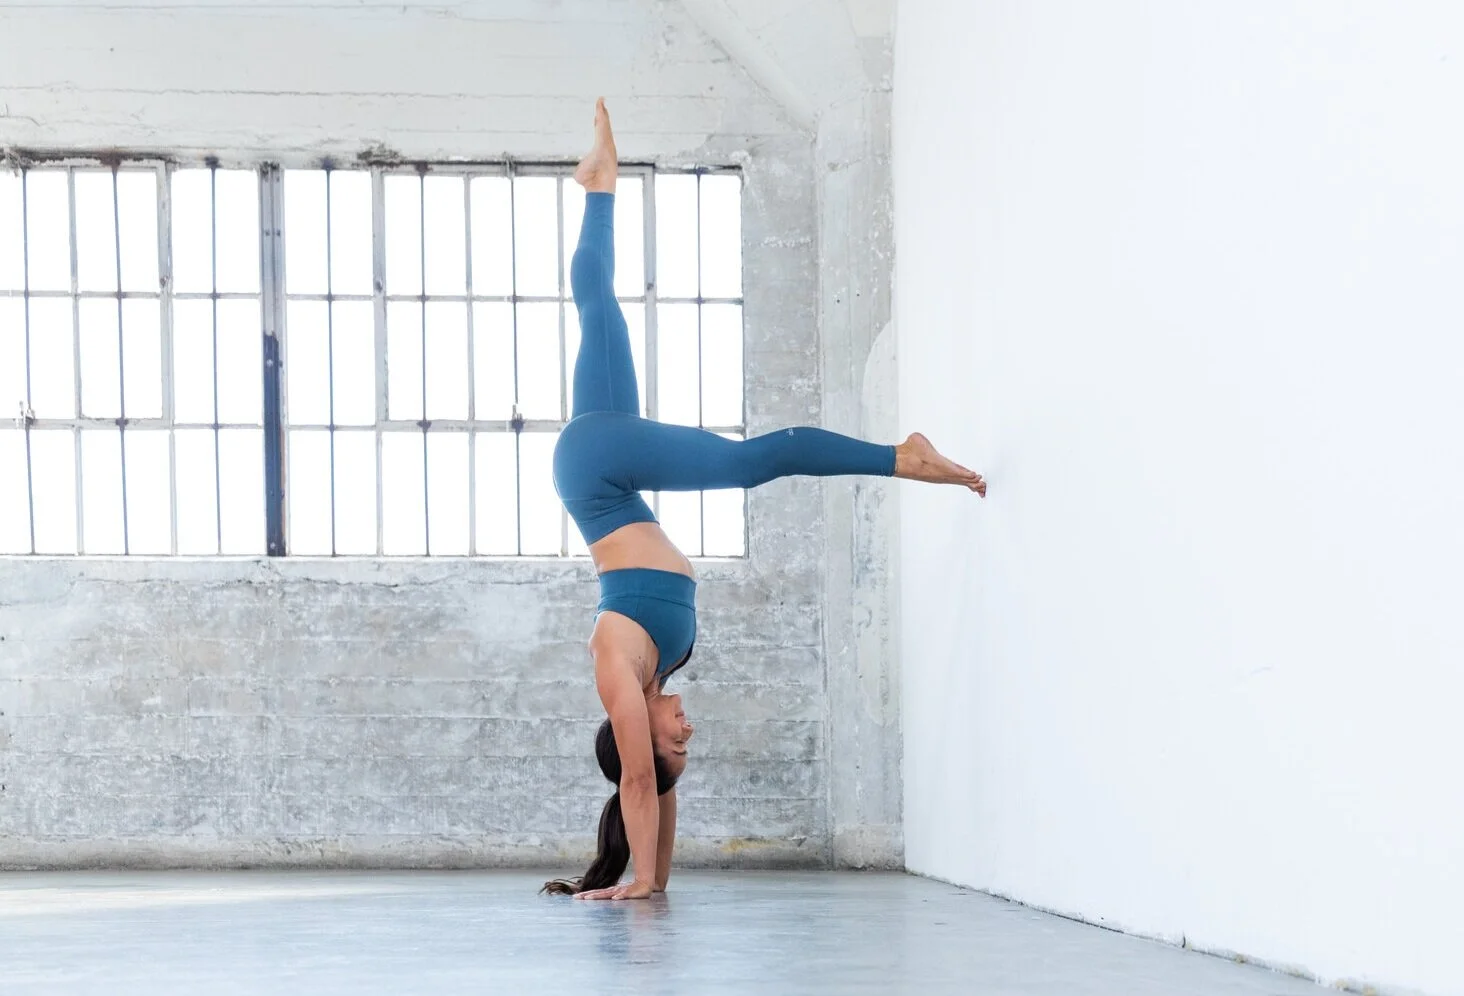
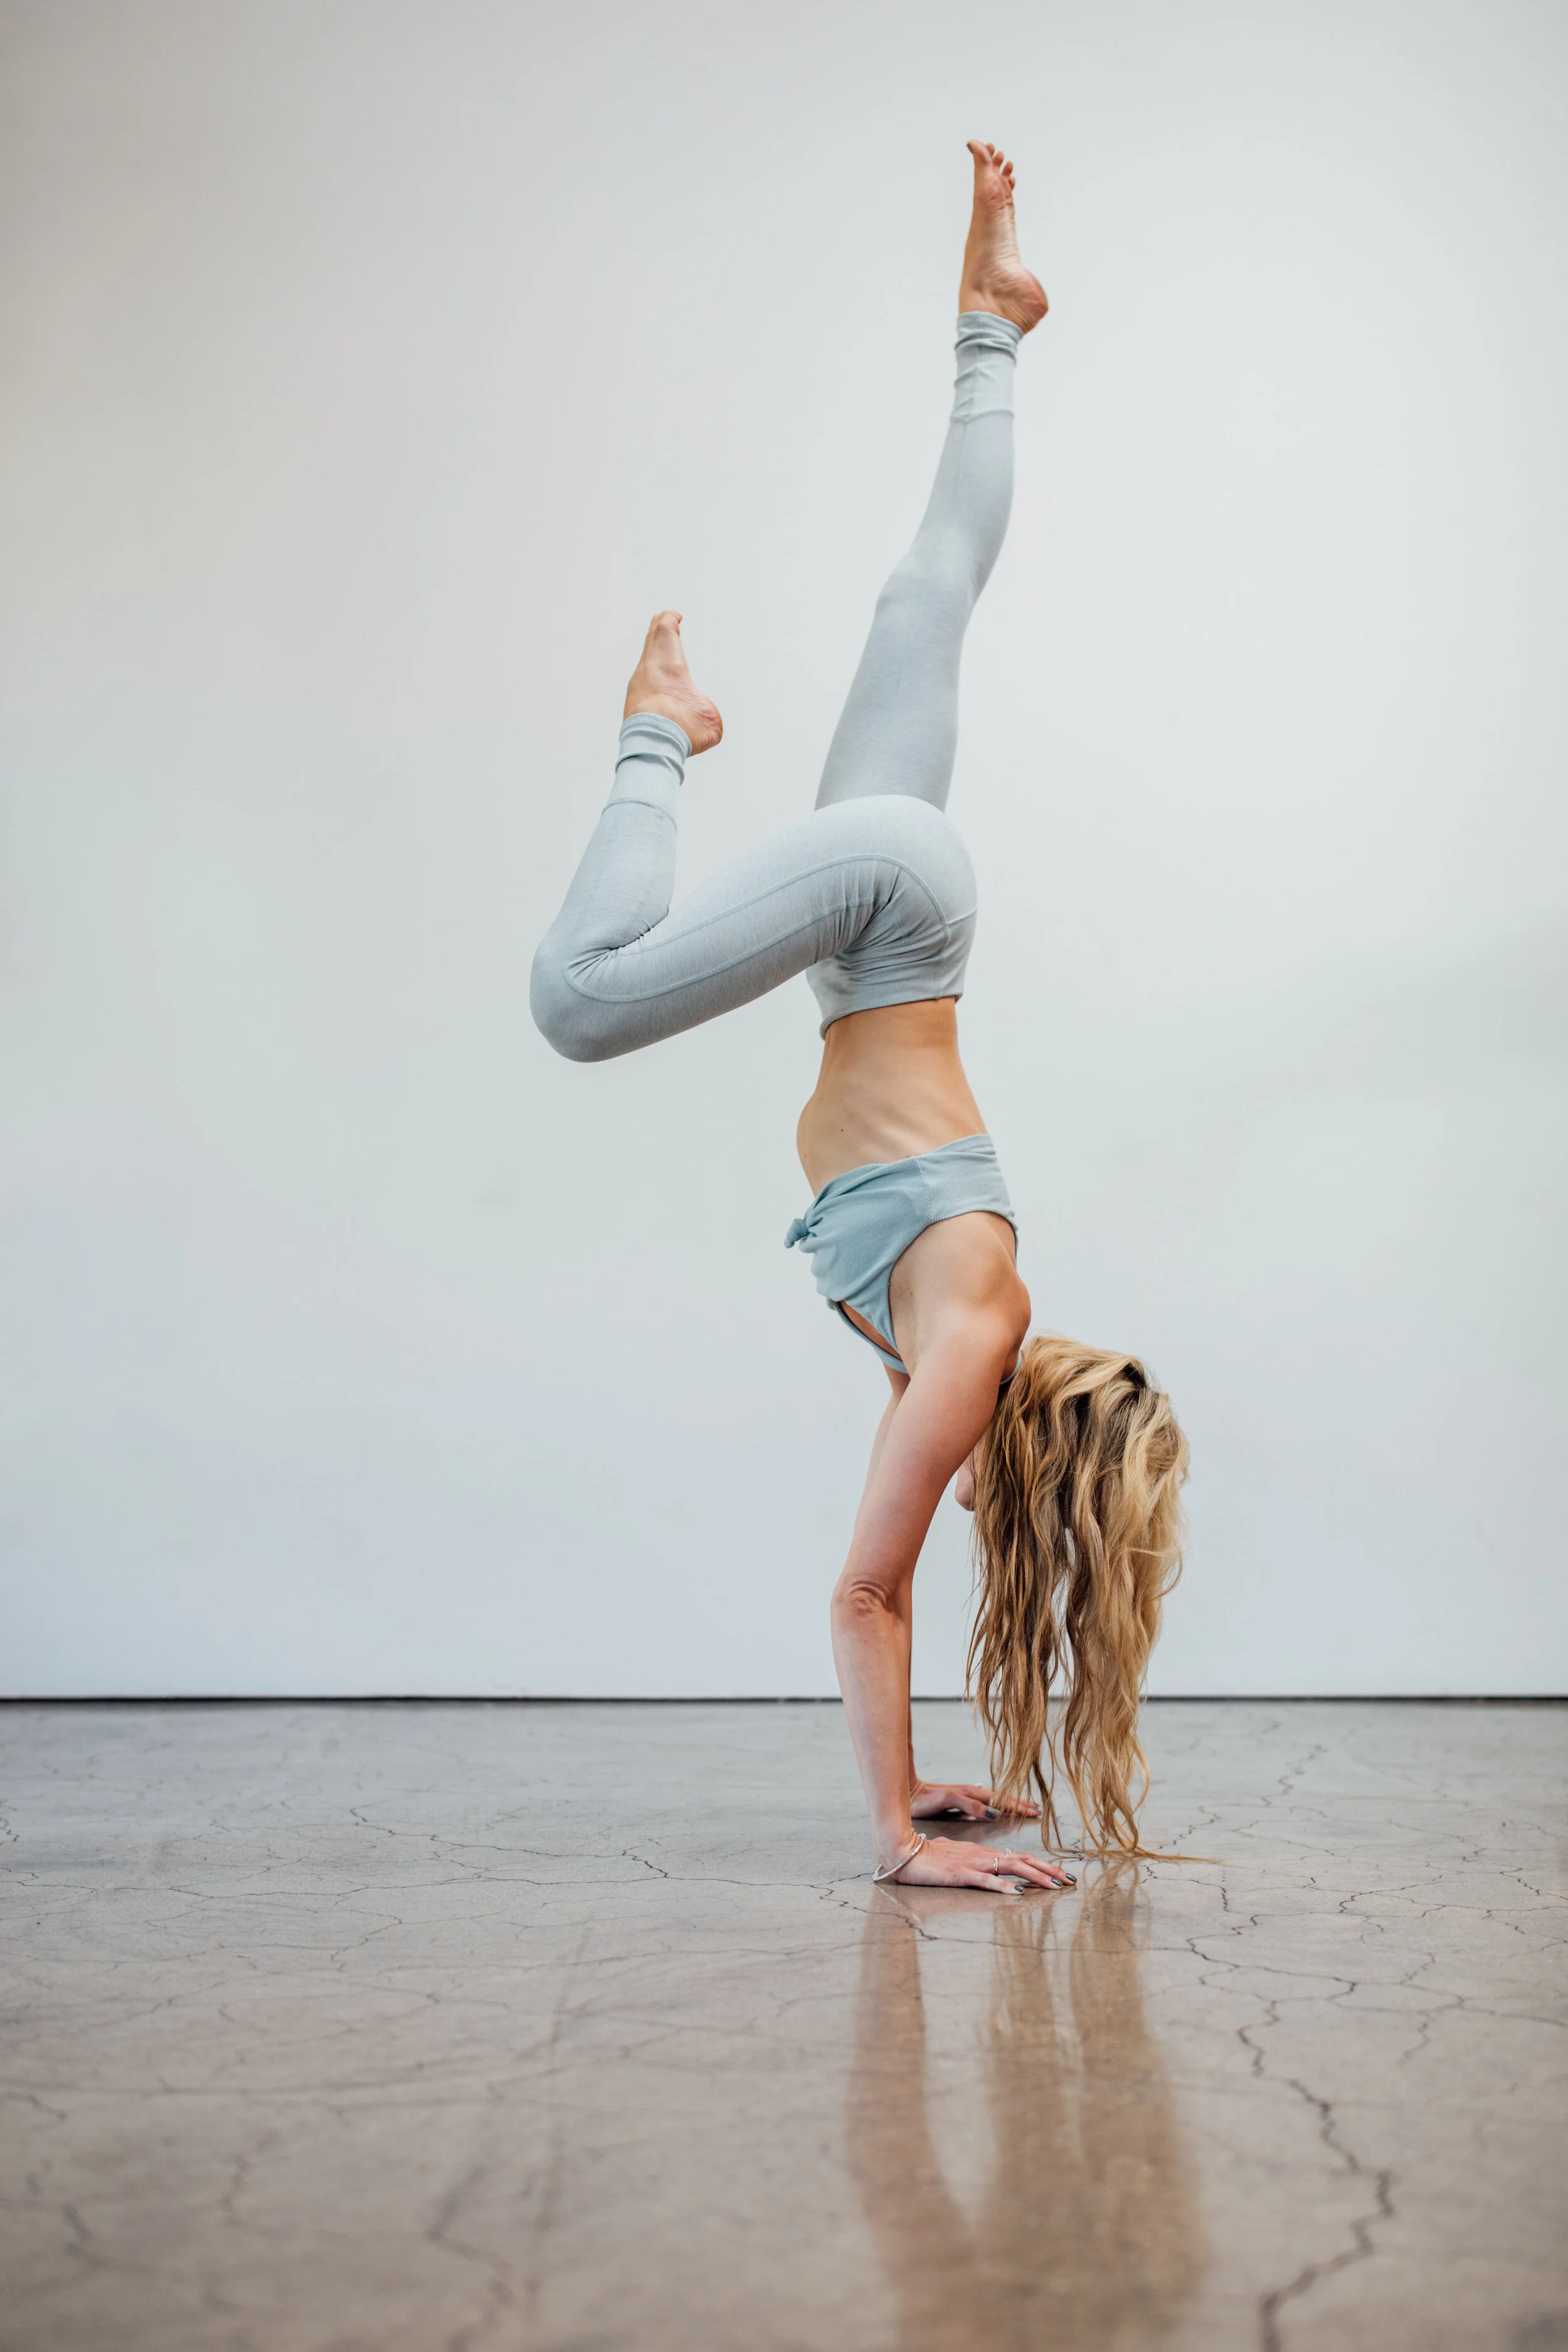
These Tips from Alo Moves Instructors Will Make Your Handstand Better Than Ever
Handstands make you work for their love. They require a lot of practice before mastery, then a lot of upkeep to prevent you from losing your technique. However, once you’ve achieved your first handstand, you’ll be rewarded with the high of perseverance, the awe at your own strength, and a new perspective — literally.
Benefits of Handstands
If you’ve determined that it’s safe to practice handstand for your body, there are a variety of benefits that make going upside down worth it. Practicing handstands regularly can:
Strengthen your upper body, including your arms, shoulders, and upper back
Build core strength
Improve your balance
Increase circulation and lymph flow
We’ve rounded up a variety of handstand tips from our Alo Moves instructors that cover everything from the basics of setting up your handstand to more advanced techniques, like moving from Hurdler’s Pose into handstand.
How to Set Up, Transition, and Hold Your Handstand With Briohny Smyth
“Important news: your handstand is composed of more than just a handstand. First, comes your set up, then the transition, and finally, the actual handstand. Remember: Your setup is going to make your kick up successful.”
1. How To Set Up Your Handstand
Make sure your hands are underneath your shoulders with index fingers forward.
Your standing leg foot needs to be right underneath your standing leg hip.
Your lifted leg should not be open in external rotation.
2. Transition Into Your Handstand
“My favorite transition, which I believe is the most accessible, is the L-Hop.”
Don't fling yourself up with your top leg. It's one of the most common mistakes: you'll end up in a backbend and may even fall into a backbend.
Instead, find your hollow body position and focus on your standing leg. It is the thigh bone drawing up into the pelvis that will effectively bring your hips over and get you upside down.
3. Holding Your Handstand
”In order to stay upside down, you need to find that ‘light’ moment. Once you find it, it's all about holding your engagement. Now, more than ever, you need to be stubborn. And remember that part of holding your handstand is also knowing your exit strategy.”
Practice this class with Briohny: Handstand Tips
How to Use the Wall to Hop Into Handstand With Patrick Beach and Carling Harps
“A lot of times when we start hopping up to the wall, we have that ‘Oh my god, I just need to get to the wall’ moment, and we end up flinging our legs and it’s our foot that lands first. The initial stages are to get upside down and see what happens, but once you’ve mastered that, it’s on to the next — moving the butt to the wall first, which is how we really shift the hips over the shoulders, and curling the ribs in so the midsection moves all together rather than just feet, where we sort of end up in that banana back shape.”
Set up at the wall and get really close. Your fingertips will be almost up to the moulding. You may need to drop your head so there’s space. This is totally fine, and not representative of your total handstand. It’s just how you’re going to work through this drill.
Tuck your toes and hop one leg at a time as lightly as you can without too much momentum so your butt hits the wall first.
Once you get all the way up, squeeze your legs together and try to hollow out, moving your lower back to the wall. Move your front ribs to your back and your lower back into the wall, ensuring your shoulders don’t follow so you don’t have too much flexion in your wrists.
Stay here as long as you can to maintain the integrity. Once you’ve lost it, come back down and try again.
Practice this class with Patrick and Carling: Handstand with Back on the Wall
The Deeper Meaning of the Handstand With Kayla Nielsen
“What’s the point of learning to stand on our hands if we can’t apply the mental and emotional benefits of the physical practice to our daily lives as well? Is it fun to get upside down and try new things? Yes! Does it look pretty dang awesome too? Sure! Do handstands require strength, flexibility, and focus? Yep! But what’s the point of making cool shapes with our bodies if we don’t pause to reflect on how these cool shapes impact our minds and hearts?
“I love teaching handstands, not because they’re Instagrammable positions and super freaking fun, but because of the deeper meanings — reconstructing fear, flipping our perspective, and trust. We’ve been in a year of uncertainty, high stress and fear. We need to lean into the greater lessons behind the flashy poses and live our yoga rather than just do it.”
Practice this class with Kayla: Flow: Return Home
How to Do the Press Walk and Pike Press to Handstand With Ashley Galvin
“The press walk was the number one ‘tool’ that helped me learn to float, glide, and press. It’s how I gained control lifting and pressing to handstand. The press walk itself can be something to work on, but it’s honestly all about technique. You are strong enough! You have all of the strength needed, I guarantee it. You just need to learn how to activate certain muscles and when.”
If you have tight hamstrings, bend your knees. Don’t worry about straight legs. Place your hands five inches in front of your feet — the closer, the better. It’s all about weight transfer. Shift far forward, transferring your weight into your fingertips and leaning forward until your shoulders are above your wrists or even further. The idea is to try and stack your hips above your shoulders and your shoulders above your wrists.
Hollow your front body, similar to Plank Pose or Crow Pose. Round your back and engage your pecs. Draw your navel to your spine, and lengthen and engage your arms by pushing your hands firmly into your mat. Biceps wrap forward, triceps wrap back.
Even if you start out jumping or baby hopping your feet to your hands, keep at it. It doesn’t have to be smooth right away. Just lean forward, putting more weight into your hands and less in your toes.
Practice this class with Ashley: Bend and Breathe
Moving from Hurdler Pose to Handstand With Dylan Werner
“Learning how to handstand might help you overcome fear, teach how to trust yourself better, invoke courage, cultivate patience, persistence, and determination, nurture forgiveness, quiet the mind, and create inner peace. Plus, they're also a whole lot of fun!
“Moving from Eka Pada Koundinyasana II (or The Hurdler Pose) to a handstand can be really challenging. To make this easier, keep your hips over your hands. The closer your body is to center, the lighter and easier to control it will be. The lifting actually happens more from posterior chain activation than from the chest and shoulders.”
First, dip your shoulders to elevate your hips.
Then, engage your butt and back body to lift your rear leg upwards toward your handstand. This will help keep your hips in the position they need to be to make the press easier.
Practice this class with Dylan: Handstand Builder I
Ready to fly? Practice all these classes and more with a free 14-day trial to Alo Moves.


