Pose Breakdown: Handstand
Learn how to do Handstand (Adho Mukha Vrksasana). This free beginner video tutorial will teach you the proper alignment and technique to help you safely move into Handstand.
Whether you’re doing Handstand at the wall or in the middle of the room, mastering this inversion can bring you a host of health benefits.
HERE ARE SOME HEALTH BENEFITS OF HANDSTANDS
Builds upper body strength
Strengthens core muscles
Boosts energy and mood
Increases circulation
Improves balance and stability
Creates focus and awareness
How to do A Handstand
1.
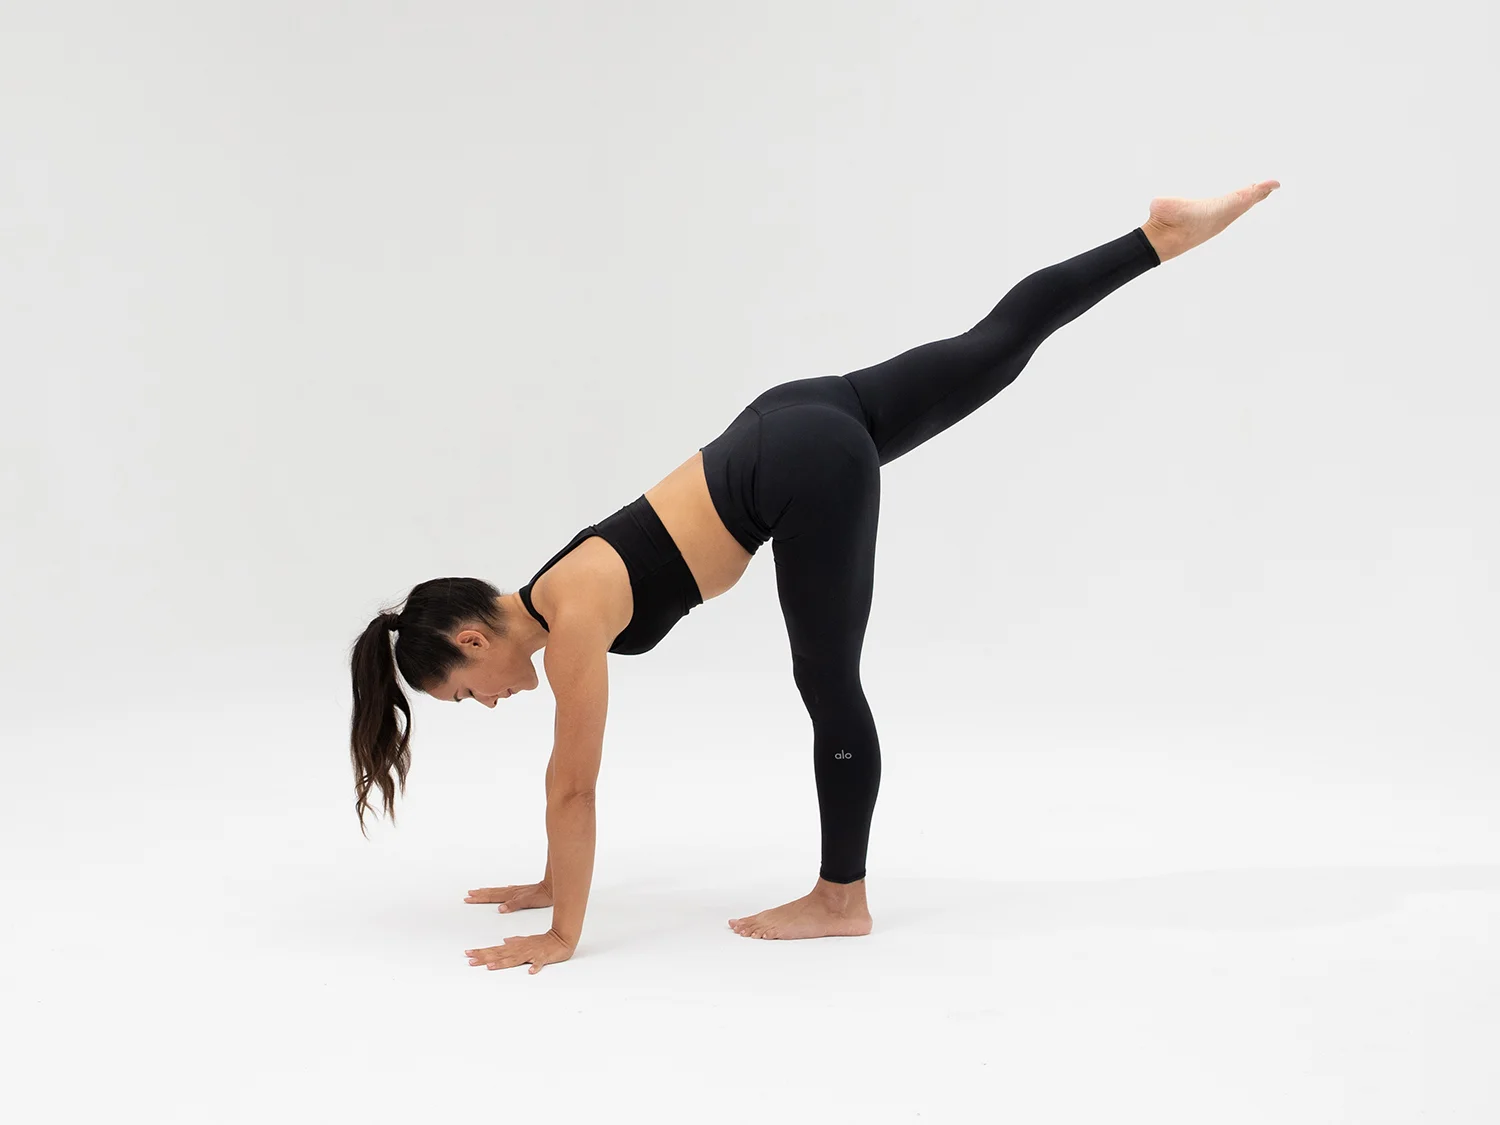
Come into a Handstand prep position. One leg is on the mat underneath your hip, and the opposite leg is lifted with your toes pointed. Squeeze your inner thighs together to engage mula bandha.
2.
Plant your hands underneath your shoulders with your index fingers forward. Grip your mat firmly with your fingertips as you push down firmly through your base knuckles.
3.
Draw your ribs and navel in and bring your gaze between your wrists.
4.
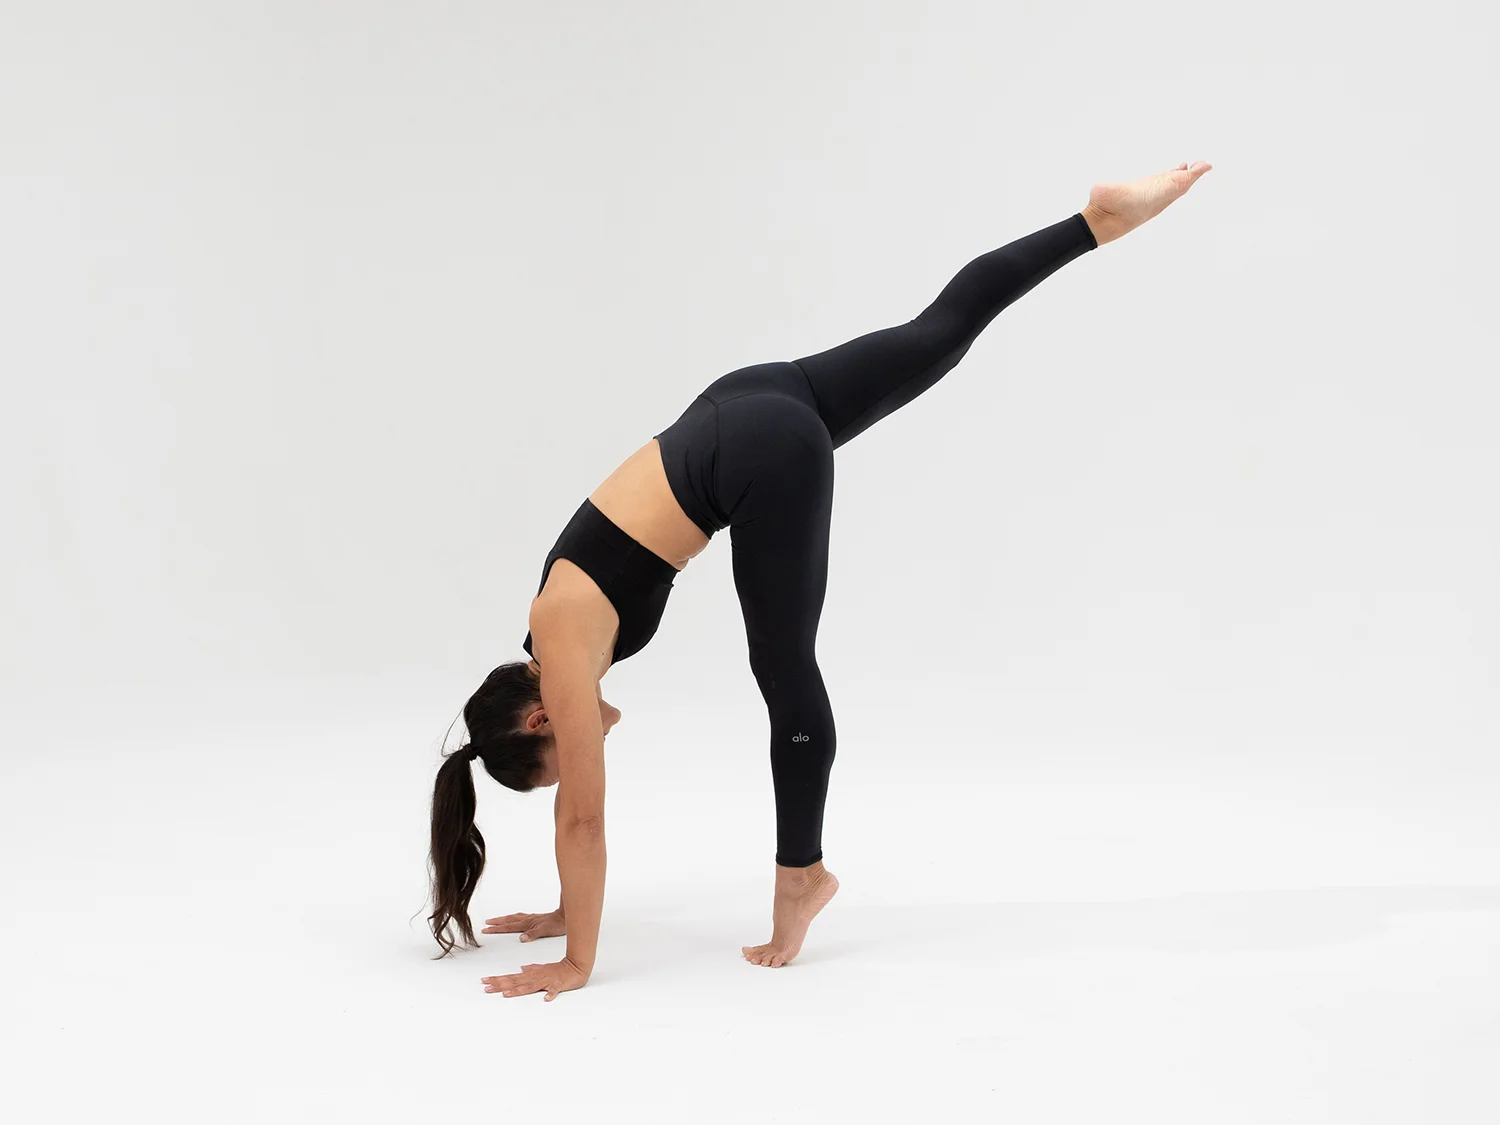
Rise up onto the ball of your standing leg foot. Bend your standing leg knee, and pull your thigh bone up into the pelvis to kick up. Reach your top leg up toward the sky.
5.
Once you find your handstand, bring your legs together. Squeeze your inner thighs in and engage your glutes. Draw your ribs and navel in.
Liked this Handstand tutorial? Kickstart your home yoga practice with a free two-week trial to AloMoves.com. We recommend these full-length yoga classes: Briohny Smyth’s Power Vinyasa Level 3 and Dylan Werner’s Handstand Builder 1.


