8 Yin Yoga Poses to Relieve Low Back Pain
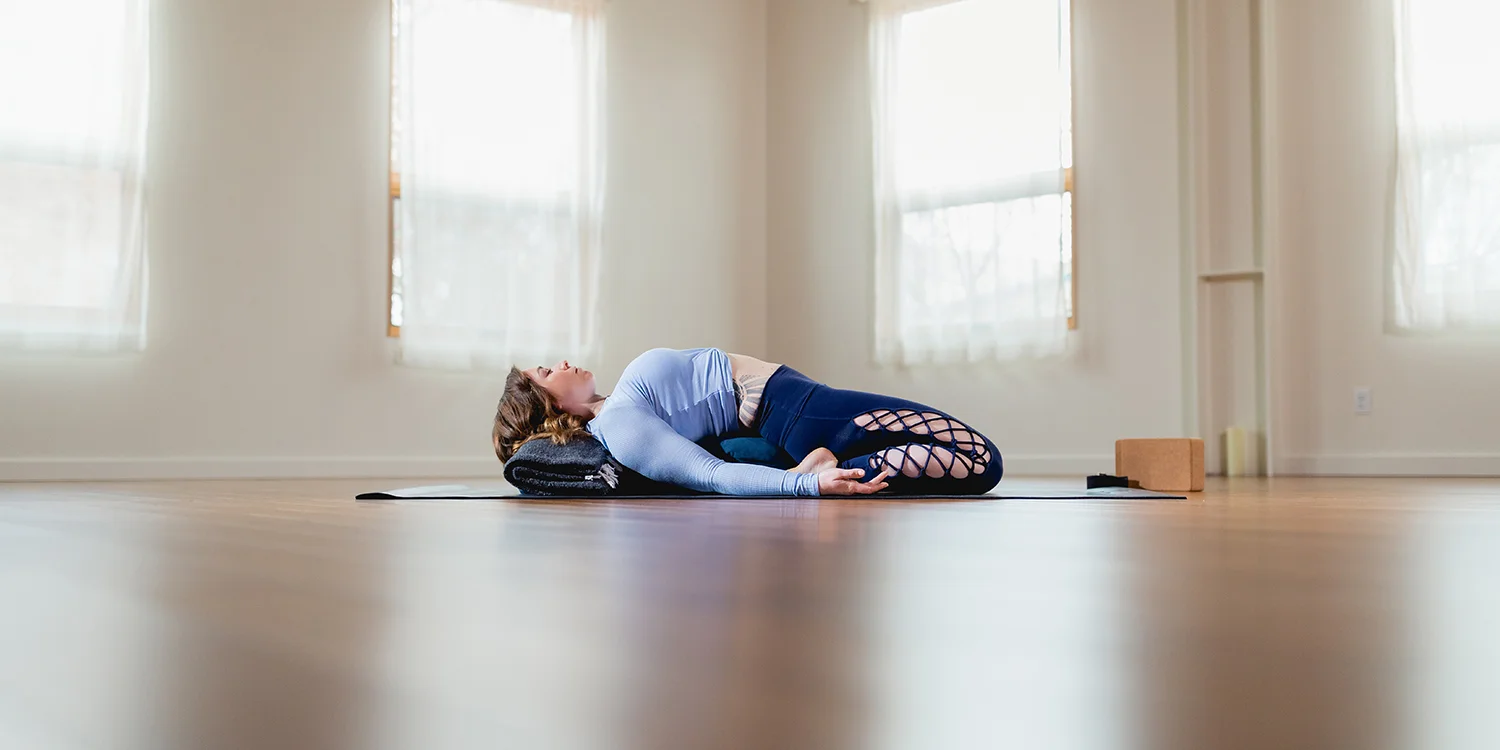
Carling in Saddle Pose (Supta Virasana) from her series Restorative Reset
Low back pain is not uncommon in today’s sedentary world as we lose back flexibility and mobility through sitting and poor posture. To help relieve some of this pain and improve overall mobility of the spine, these 8 yin yoga poses will help stretch all the areas that contribute to a healthy back: shoulders, chest, abs, obliques, hamstrings, glutes, and hip flexors.
Traditionally, yin yoga poses are held for 2-5 minutes to stretch the body’s connective tissue. Props such as bolsters, blocks, or blankets can be used to meet your body’s needs and abilities while helping you stay more comfortable in a posture over a longer period. As you relax into these yin yoga poses, you will allow your back to release and melt away tension.
1. SUPPORTED CHILD’S POSE
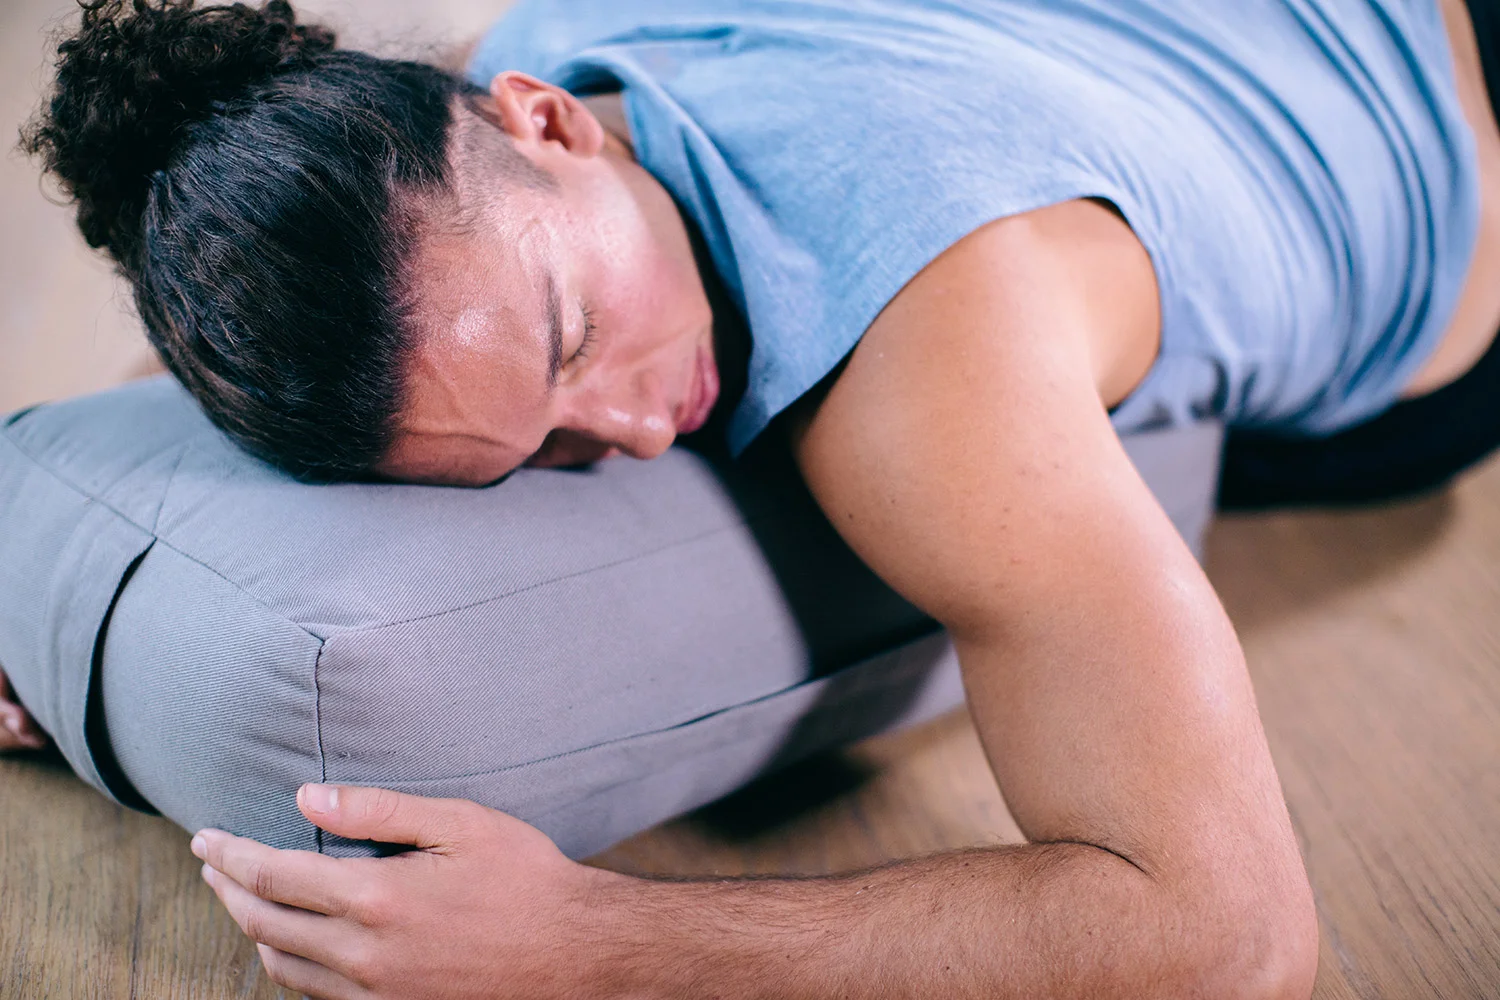
From a kneeling position, place a bolster or stack of blankets between your knees. Lower your torso onto the bolster or blankets and rest your cheek on it. You can place your arms on the ground or wrap them around your prop(s). A gentle stretch should be felt in your lower back.
2. RECLINED BUTTERFLY POSE
Begin by lying on your back with knees bent. If you need some extra support, lie back with a blanket beneath your back. Allow your thighs to gently open toward the ground as the soles of your feet come together. Arms can rest out to the side at a 45-degree angle with palms up, or on your lower stomach. A yoga block can be used under each knee if you need extra support to relax into the pose. You should feel a gentle release in your lower back.
3. MELTING HEART POSE
Begin in a tabletop position. Walk your hands forward and allow your tailbone to move up towards the ceiling while keeping your hips lined up over the knees. Let your forehead rest on the floor as you stretch your arms toward the top of the mat. Let your chest sink down toward the floor, feeling a gentle arch and stretch in your back.
4. SPHINX POSE
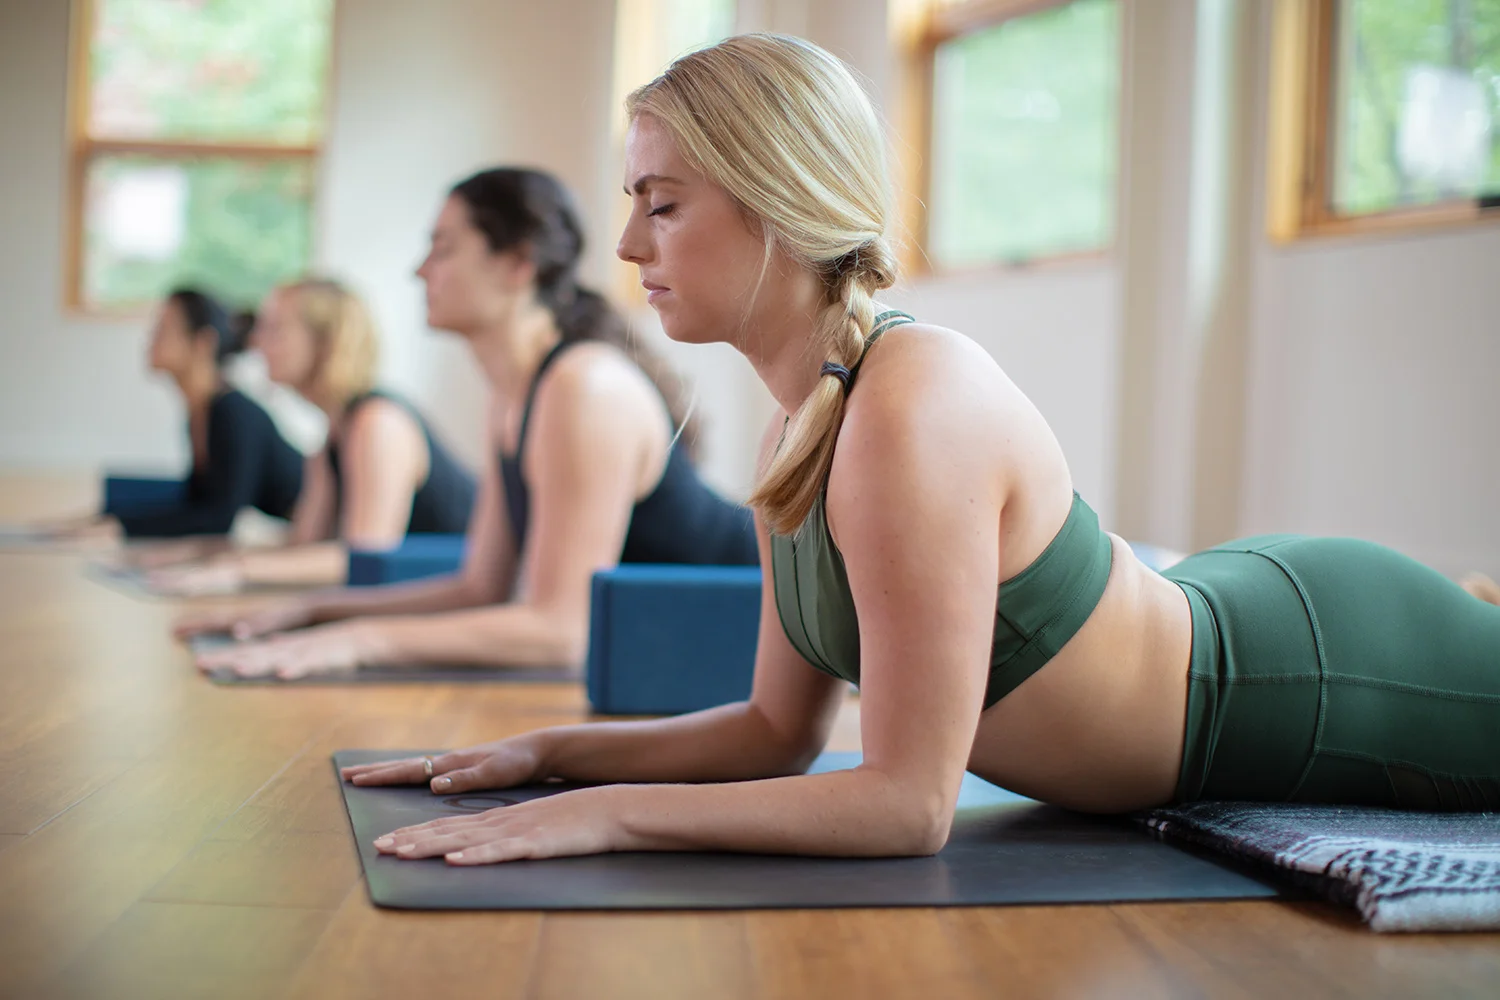
Lie on your stomach with your legs straight out behind you, hip-width apart. Press the tops of your feet into the mat and spread your toes. Prop yourself up on your forearms and rest your elbows directly under your shoulders, arms parallel to each other. Pressing your forearms into the floor, lift your head and chest off the floor. Engage your legs and keep your pubic bone pressed into the floor while you roll your outer thighs slightly toward the floor to help lengthen your low back. Keep your elbows tucked into your sides, drop your shoulder blades down your back, and draw your chest forward.
5. THREAD THE NEEDLE POSE
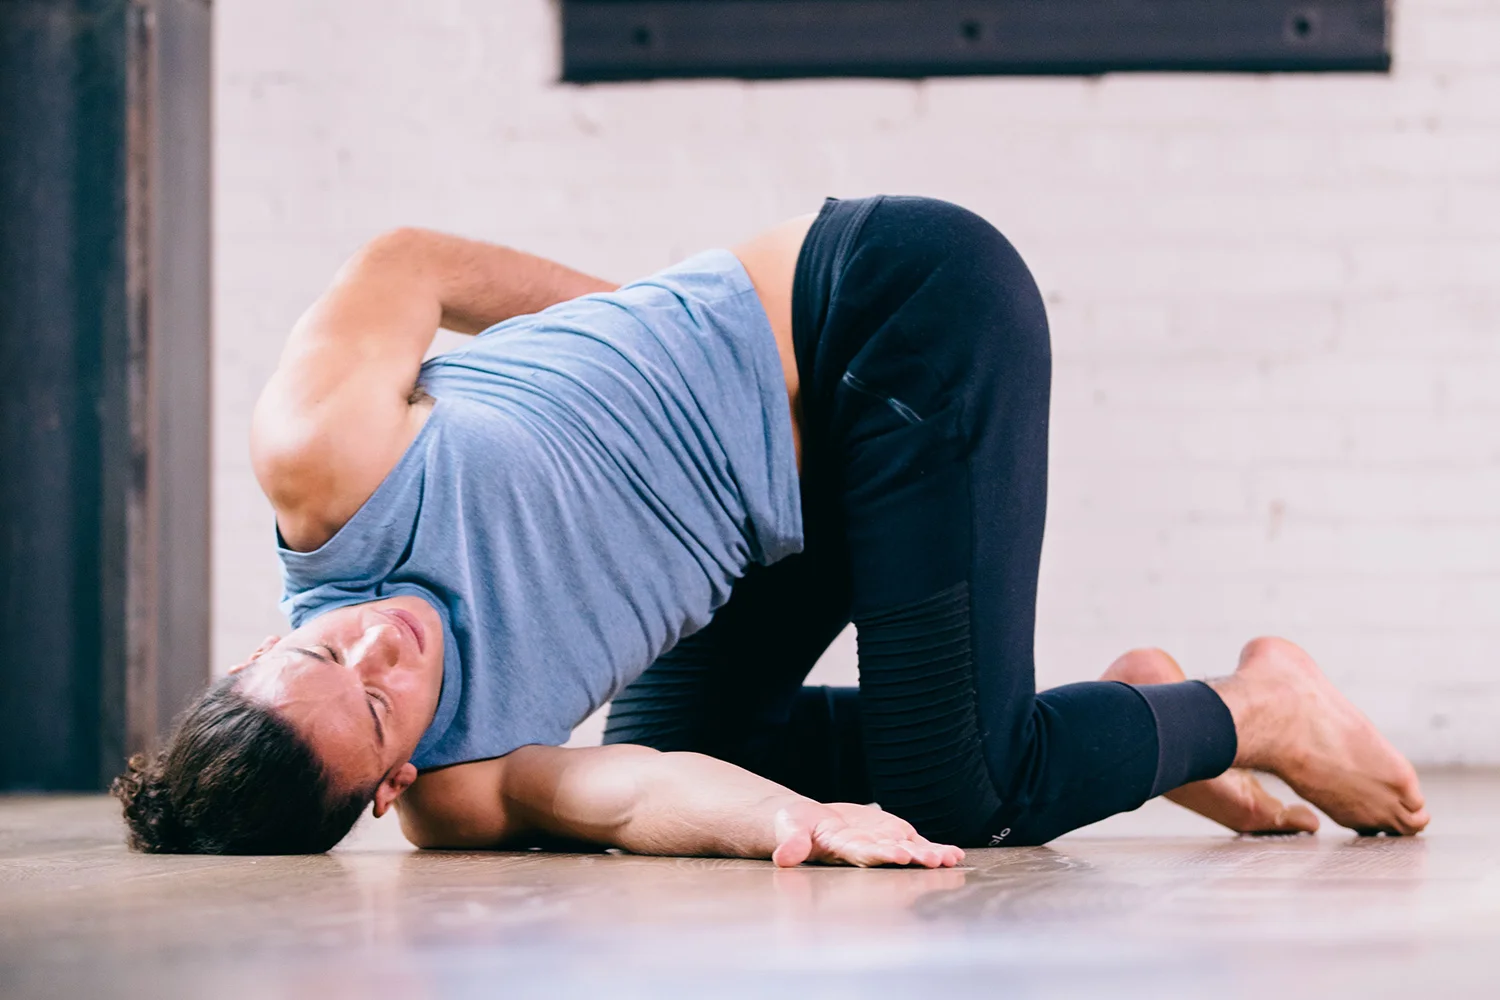
Beginning in tabletop position, slide your right arm underneath your left arm with your palm facing up. Let your right shoulder come down to the mat and rest your right ear and cheek on the mat. Keep your left elbow lifting and hips raised. Let your upper back broaden while softening and relaxing your lower back.
6. SUPPORTED BRIDGE POSE
Lie flat on your back with arms by your sides and palms down. Bend your knees and place your feet hip-width apart with heels close to your sitting bones. Press down into your feet and hands and lift your hips off the mat. Place a block below your sacrum (the triangular bone at the bottom of your spine) to minimize stress in your back. Hands can stay by your sides or be clasped underneath your body to release extra tension in your shoulders.
7. SUPPORTED CATERPILLAR
Begin in a seated position with legs extended. Place a bolster, pillows, or folded blankets on top of your legs. Bring your arms straight up over your head, reaching toward the ceiling. Inhale and draw your spine up long. As you exhale, begin to come forward, hinging at your hips. Rest your torso on the bolster, pillow, or blanket and relax your arms alongside your legs.
8. LEGS-UP-THE-WALL POSE
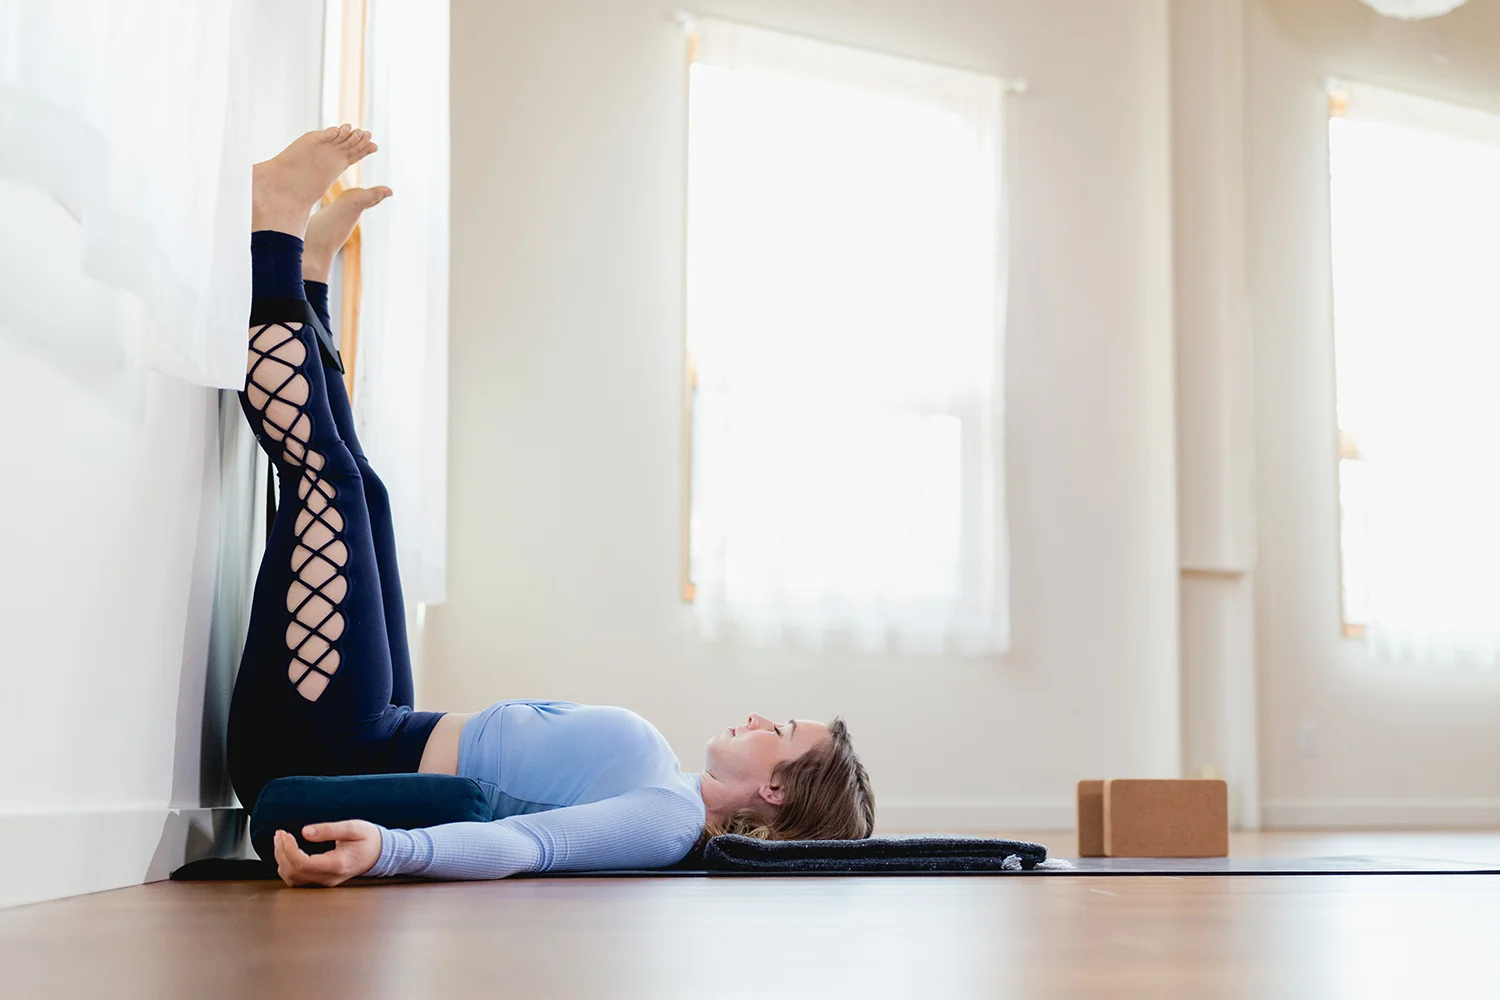
Begin by sitting sideways next to a wall. Gently swing your legs up the wall as you come to lie down onto your back. Use your arms to adjust your position and keep your buttocks against the wall. Allow your arms to relax down on either side of you with palms facing up. To release even more tension in your low back, you can add a block to the top of your feet by bending your knees (keeping your feet flexed) and placing the block on the soles of your feet before carefully straightening your legs up again.
Want more low back relief? Try Carling Harps's Restorative Reset series or Caley Alyssa's gentle Yoga for Low Back Pain class.